Pixhawk 2.4.8 PX4 PIX 32 Bit Flight Controller SPECIFICATIONS
Use: Vehicles & Remote Control Toys
Upgrade Parts/Accessories: Frame
Tool Supplies: Grinded
Technical parameters: Value 3
Remote Control Peripherals/Devices: Remote Controller
Recommend Age: 12+y,14+y
RC Parts & Accs: Speed Controllers
Origin: Mainland China
Model Number: Pixhawk 2.4.8
Material: Metal
Four-wheel Drive Attributes: Motors
For Vehicle Type: Airplanes
Brand Name: Readytosky

ReadyToSky is a professional provider of FPV RC module accessories. If you're interested in learning more about wholesale or bulk purchasing options, please feel free to reach out to us.
Features:
Pixhawk 2.4.8 support the latest official ardupilot firmware and PX4 firmware.
1. The advanced 32-bit ARM CortexM4 high-performance processors(2MB flash), can run NuttX RTOS real-time operating system;
2. 14 PWM / servo output;
3. Bus interface (UART, I2C, SPI, CAN);
4. The integrated backup power and backup controller fails, the primary controller fails over to the backup control is safe;
5. Provide automatic and manual modes;
6. Provide redundant power input and failover;
7. Multicolor LED lights;
8. Provide multi-tone buzzer Interface
9. Micro SD recording flight data;
Specifications:
Interface
1 .5 high voltage compatible UART 1, 2 with hardware flow control
2. 2 CAN
3.Spektrum DSM / DSM2 / DSM-X satellite receiver compatible input
4.Futaba SBUS compatible inputs and outputs
5.PPM Signal Input
6.RSSI (PWM or voltage) Input
7.I2C
8.SPI
9.3.3 and 6.6VADC input
10. External MICRO USB Interface
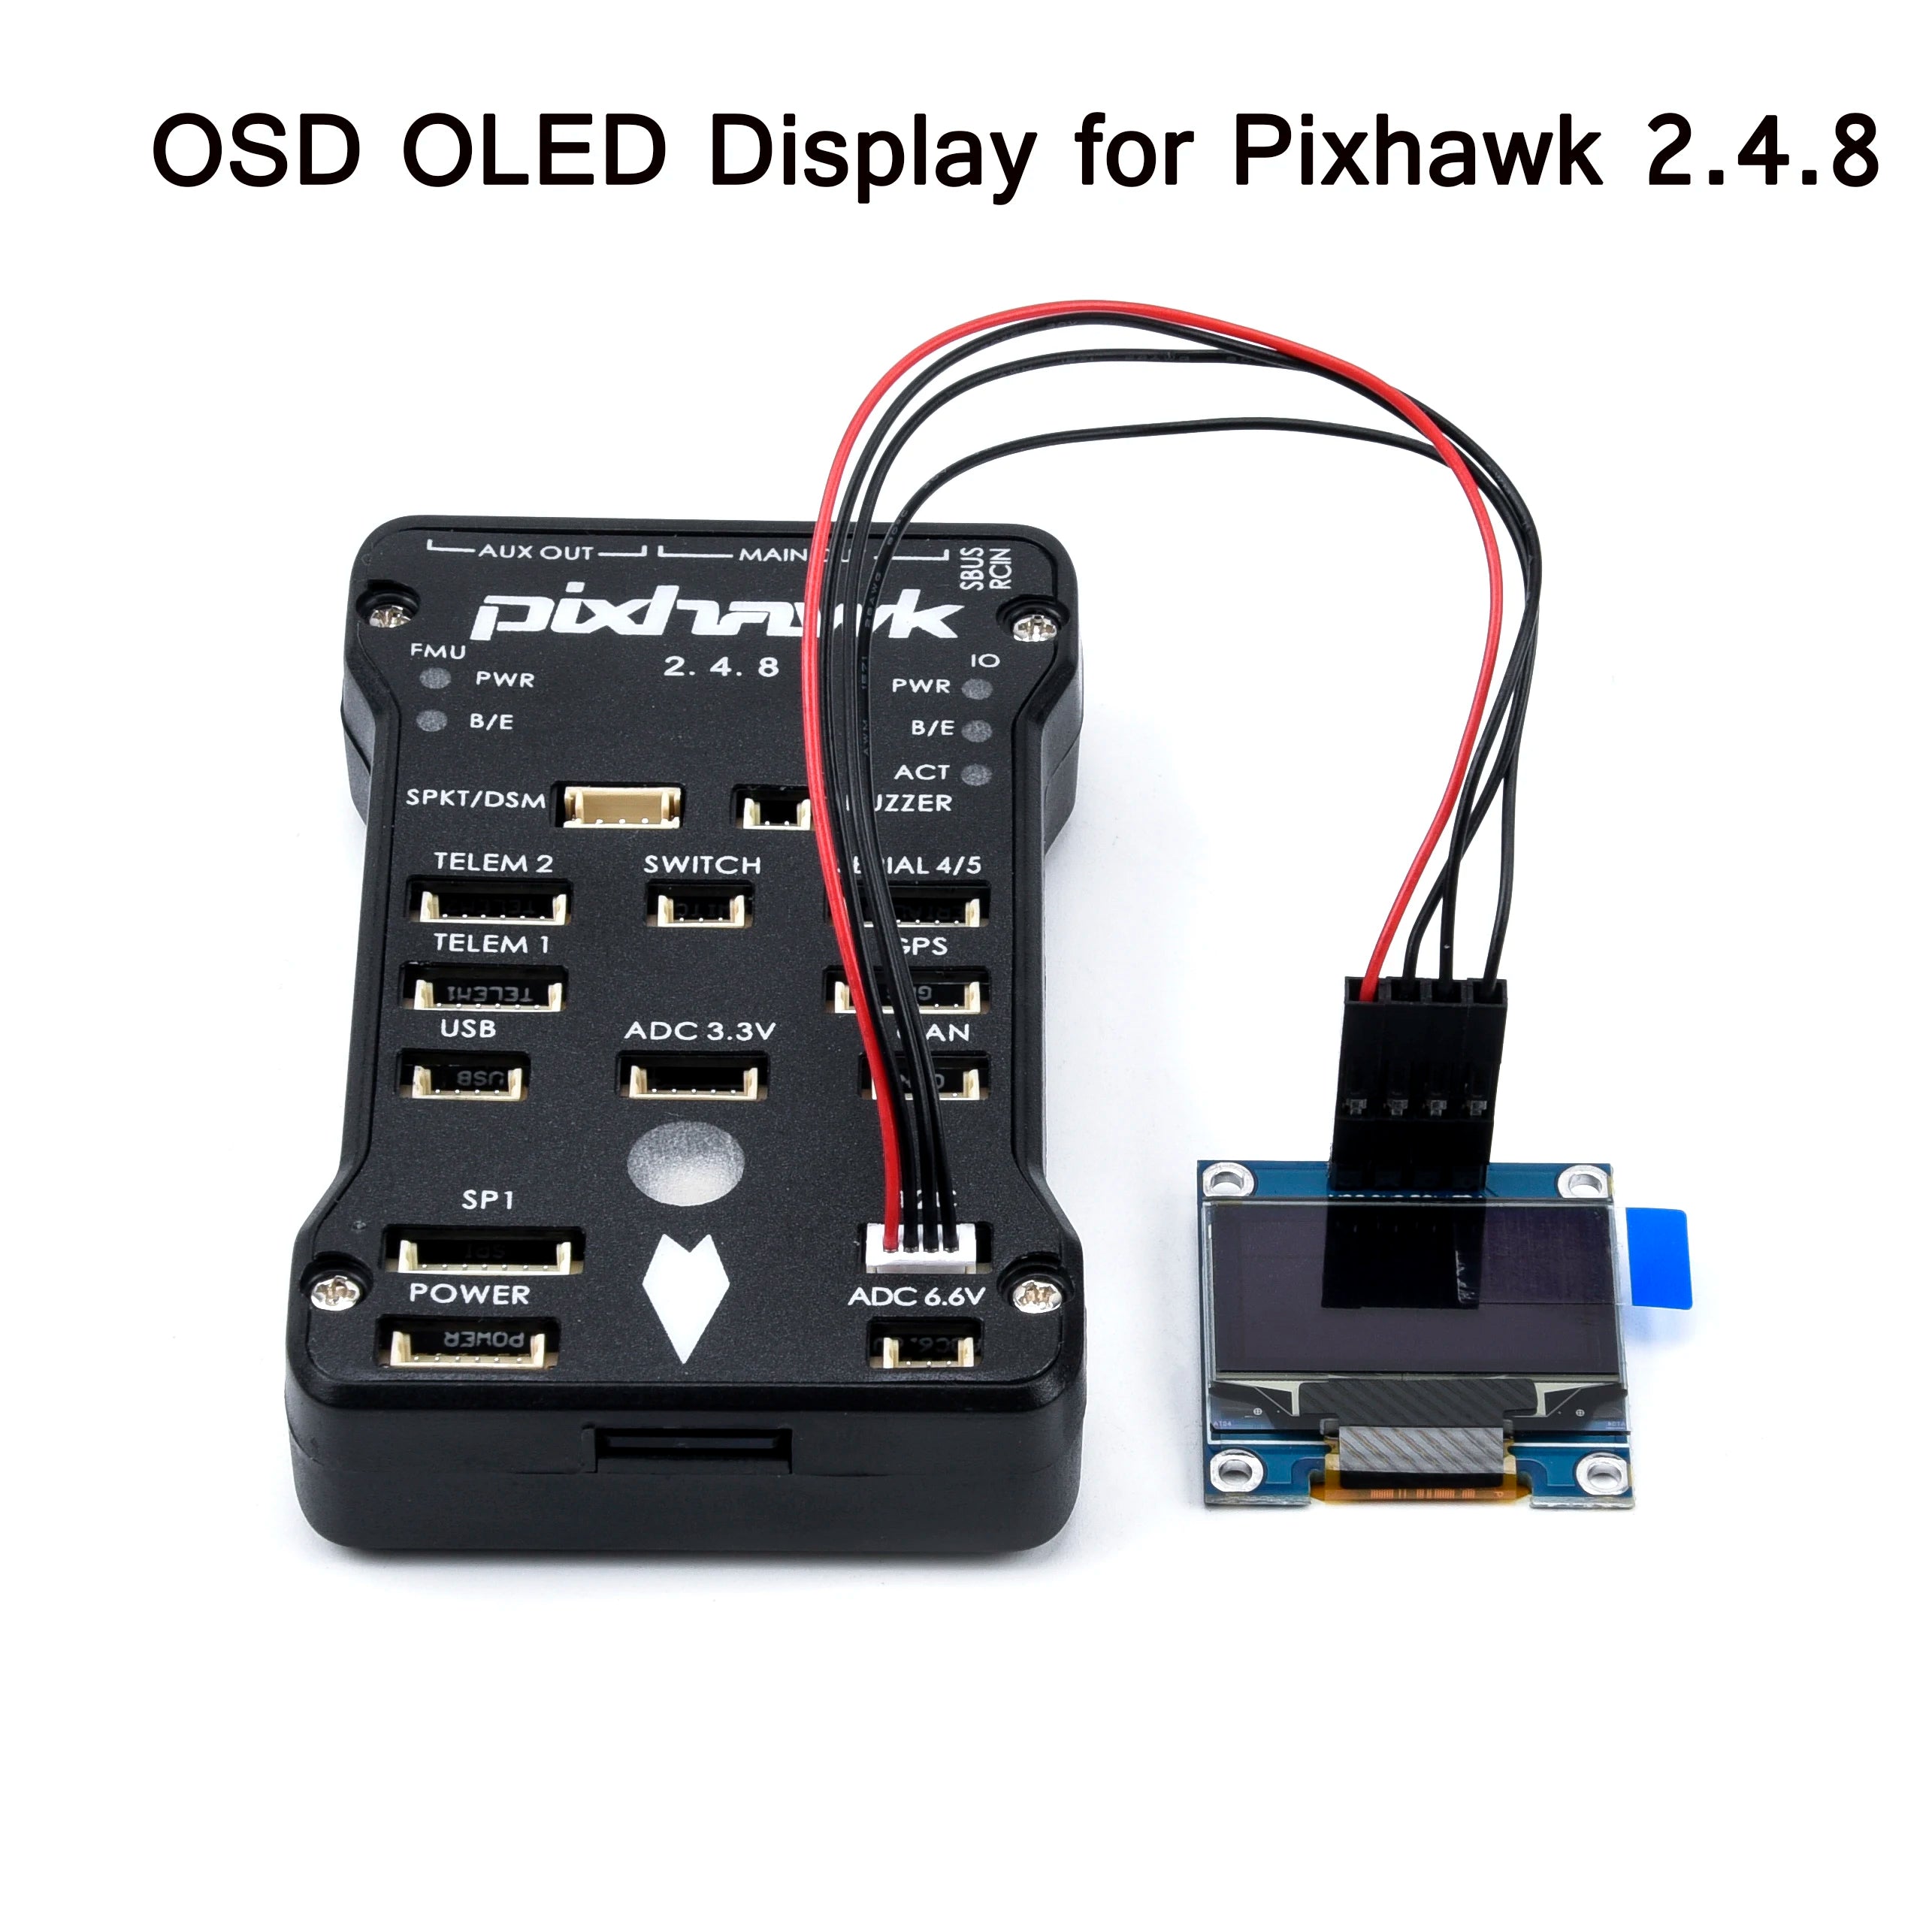
Pixhawk OSD OLED Display for Pixhawk 2.4.8 PIX PX4 Flight Control Flight Display Flight status Connected to I2C Interface
It is suitable for flight control of Pixhawk, etc. and is used to display the status information of aircraft. This module is connected to Pixhawk's I2C interface
Note: To upgrade the firmware of the display to 3.5 or more, set NTF_DISPLAY_TYPE to 1 in the Massion Planner and restart Pixhawk.
HOW to use WIFI Module for PIXHAWK?
1.How to connect?
use 6P line connects to pixhawk flight controller.
Due to the different firmware, some firmware, two ports can be used, some firmware can only use one of the ports. So find one of the available ports for the connection.
IF you use PX4 firmware ,only TELEM1 can be used ,can not use TELEM2.
For Ardupilot firmware , It is recommended to use the TELEM2 port. Or find one of the available ports for the connection.
For PX4 firmware , should use TELEM1 port.
2.How to use?
Please note:When using Wifi Radio Telemetry connection, it must use 3DR Power Module or 5V ESC to supply power to the flight control. USB cannot be inserted because USB priority is higher than Radio Telemetry . If USB cable is plugged in, it cannot be used for radio telemetry transmission.
The wifi hotspot name is Drone, so use telephone or computer connect to this hotspot, the password is 12345678.
Note:Some device(For example some iphone IOSsystem) cannot get ip automatically, you should set manual.

Set the Configure IP as Manual. Set IP address as “192.168.4.5” or other, but can not set as ” 192.168.4.1″,the last number cannot exceed 254.Set Subnet Mask as “255.255.255.0”(should set this value, cannot other). Set Router as “192.168.4.1”(should set this value, cannot other)
When your device connect to this hotspot successfully, you can use browser to vist http://192.168.4.1 , you can modify parameter.

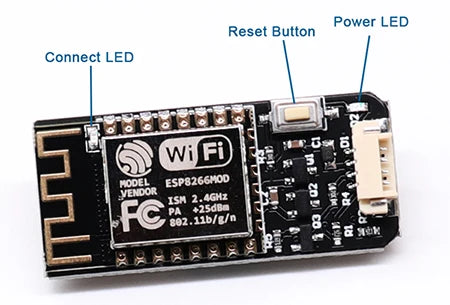

Note, the button is reset button ,not reboot button, when press the button , all the parameter will be set to default if you modify some parameter .
Power LED: when power up, the red LED is on.
Connect LED: when connect with ground control(For example, Mission Planner or Qgroundcontrol) successfully,the blue LED is flahing. when disconnect with ground control ,the blue LED is on.
1.How to use for Mission planner ?
Firstly, connect your PC to hotspot Drone successfully. Select UDP. Then click “Connect” button ,use 14550 port. Click “Ok”.There is no need to choose the baud rate. The default baud rate of the wifi module is 57600. But 115200 or other can also work.
2.How to use for Telephone
For Android: Download qgroundcontrol (only for pixhawk,not for APM)
from here,http://qgroundcontrol.com/downloads/
Download DroidPlanner from here,https://github.com/DroidPlanner/Tower/releases
For iphone(IOS): Search qgroundcontrol on app store.
qgroundcontrol(only for pixhawk,not for APM) can connect automatically, DroidPlanner should choose “UDP” and “14550” port before connecting to groundcontrol.
WIFI V3.0 use 32 Bit CPU, support TCP and UDP
WIFI V3.0 DroneBridge website
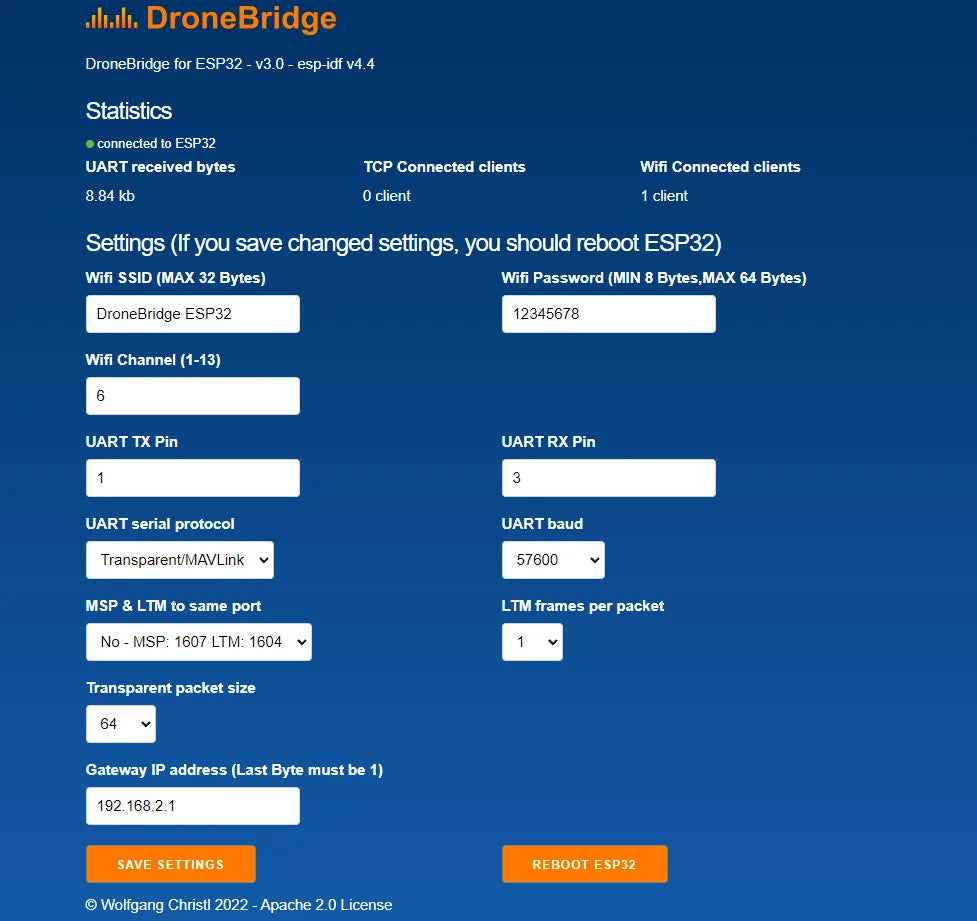
ulul; DroneBridge for ESP32 v3.0 esp idf v4.4 Statistic connected to ESP 32 UART received bytes TCP Connected clients Wifi Password (MIN 8 Bytes,MAX 64 Bytes) if you save changed settings, you should reboot ESP33 .
( send it as your choice)
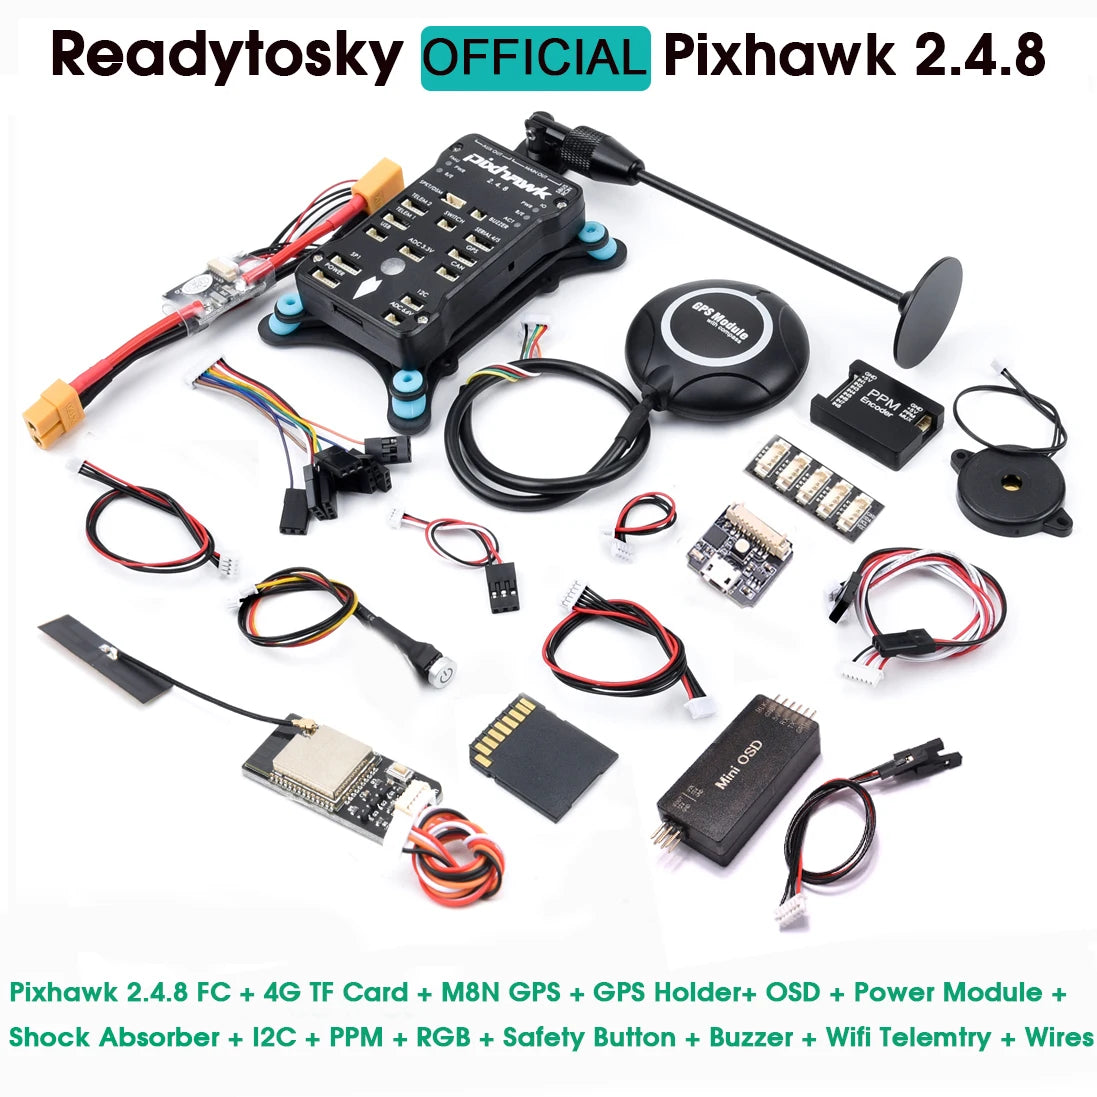
Pixhawk 2.4.8 FC + 4G TF Card + MBN GPS GPS Holder+ OSD + Power Module Shock Absorber I2C PPM RGB Safety Button Buzzer Wifi Telemtry Wires Ontk 'GPs Module PPM 1'
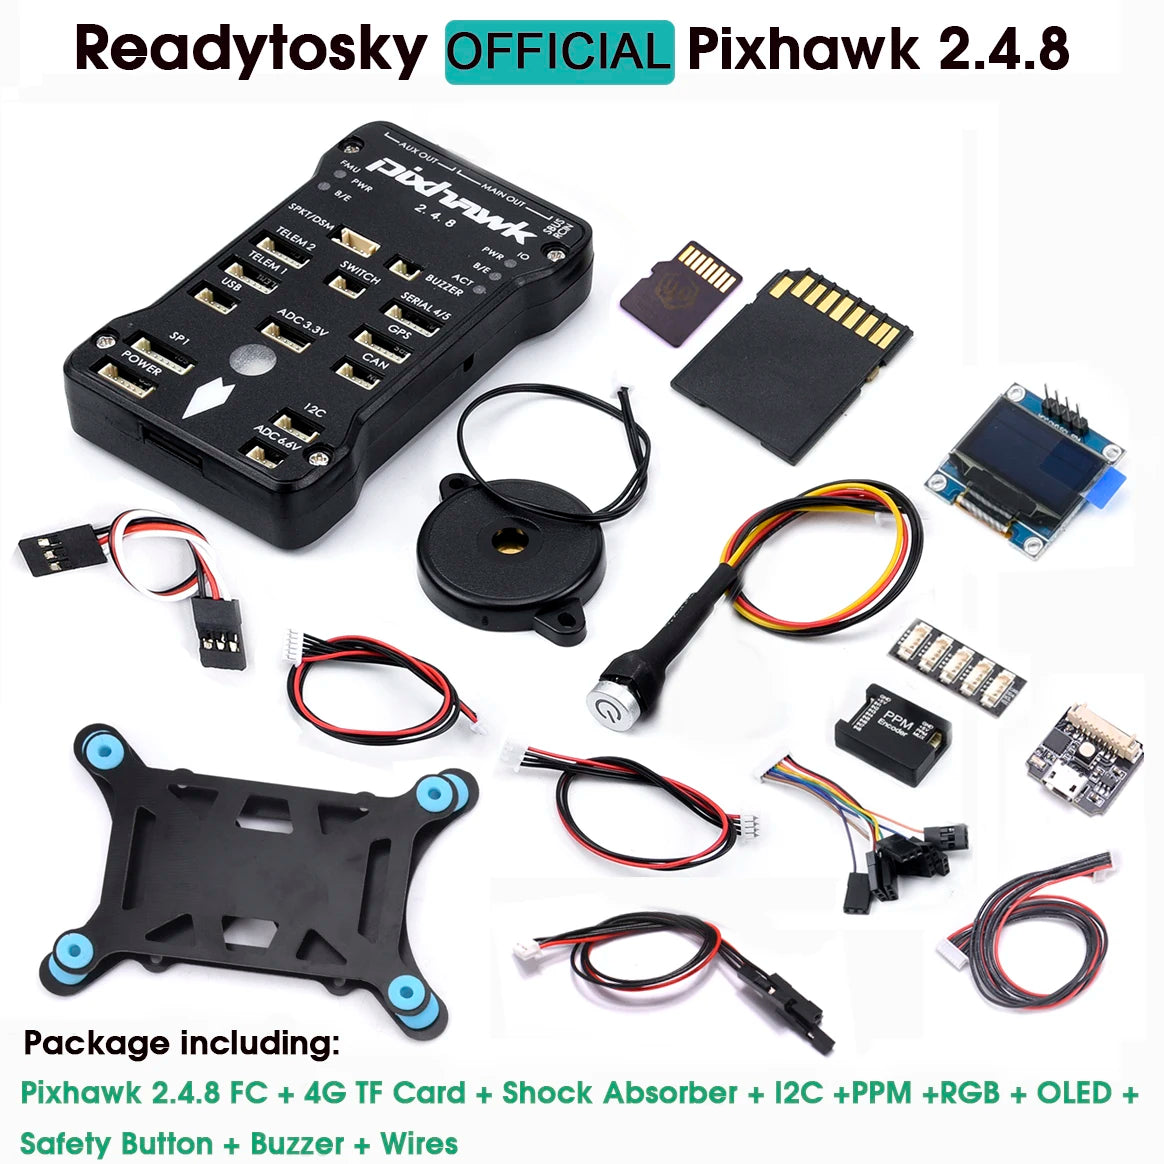
The package includes: Pixhawk 2.4.8 flight controller, a 4G TF card, shock absorber, I2C module, PPM module, RGB module, OLED display, safety button with buzzer, and wires for all components.
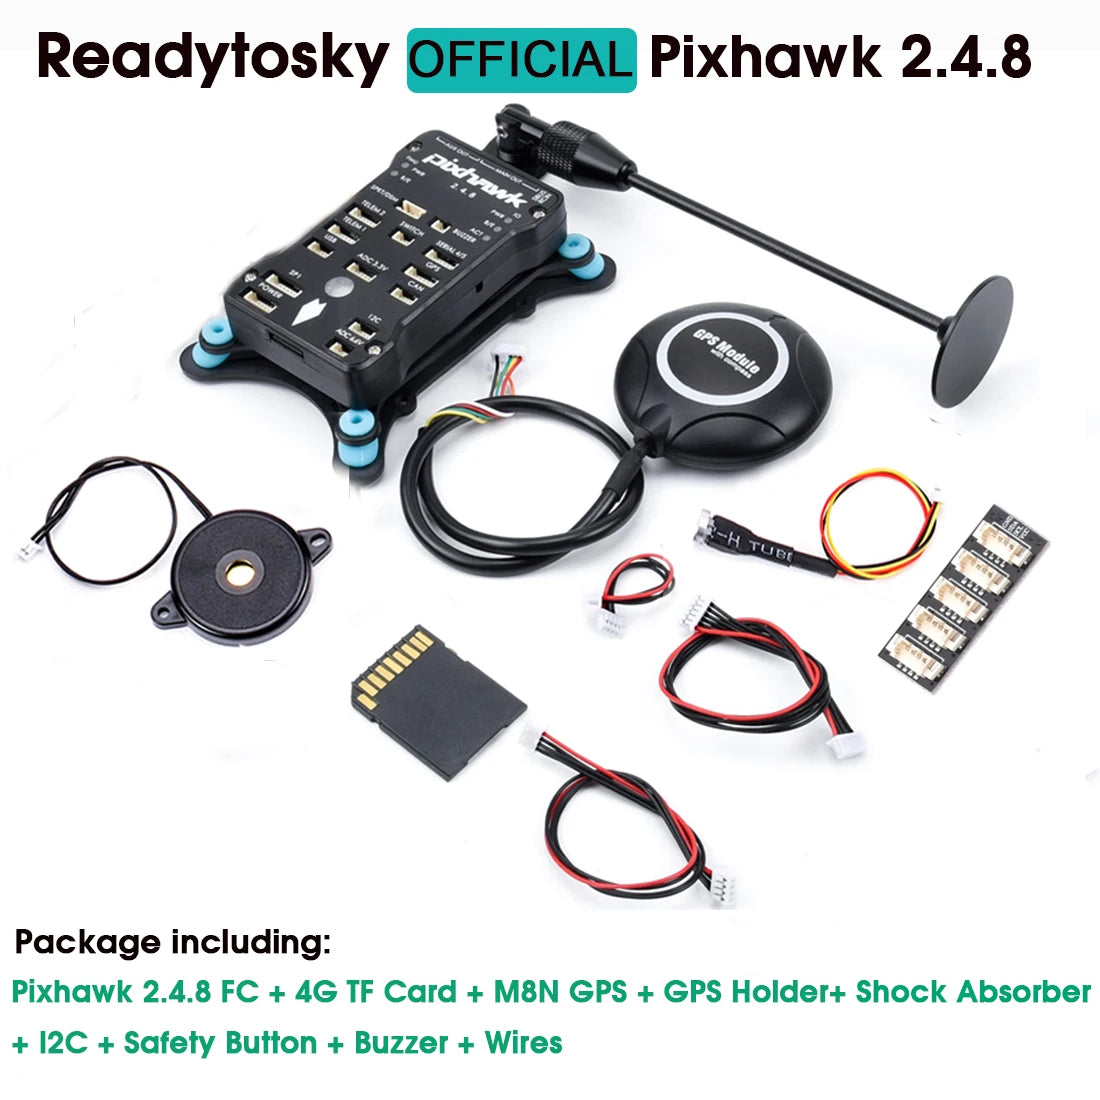
The package includes: Pixhawk 2.4.8 flight controller, a 4G TF card, MBN GPS module, GPS holder, shock absorber, I2C safety button, buzzer wires, and an optional telemetry module for wireless data transmission.
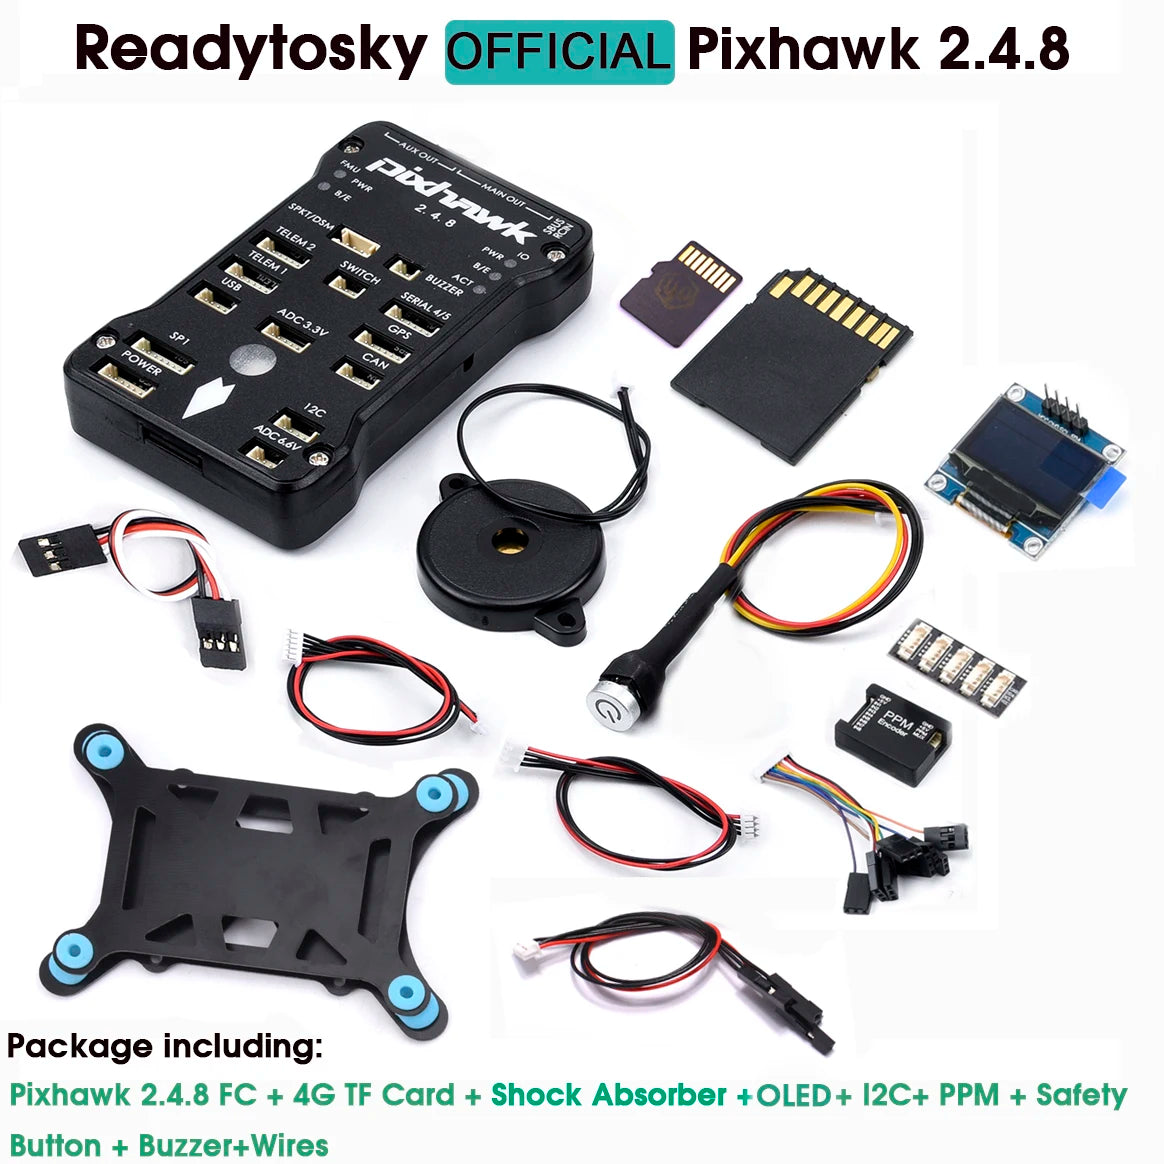
The package includes: Pixhawk 2.4.8 flight controller, 4G TF card, shock absorber, OLED display, I²C module, PPM (pulse position modulation) module, safety button with buzzer, and wires.
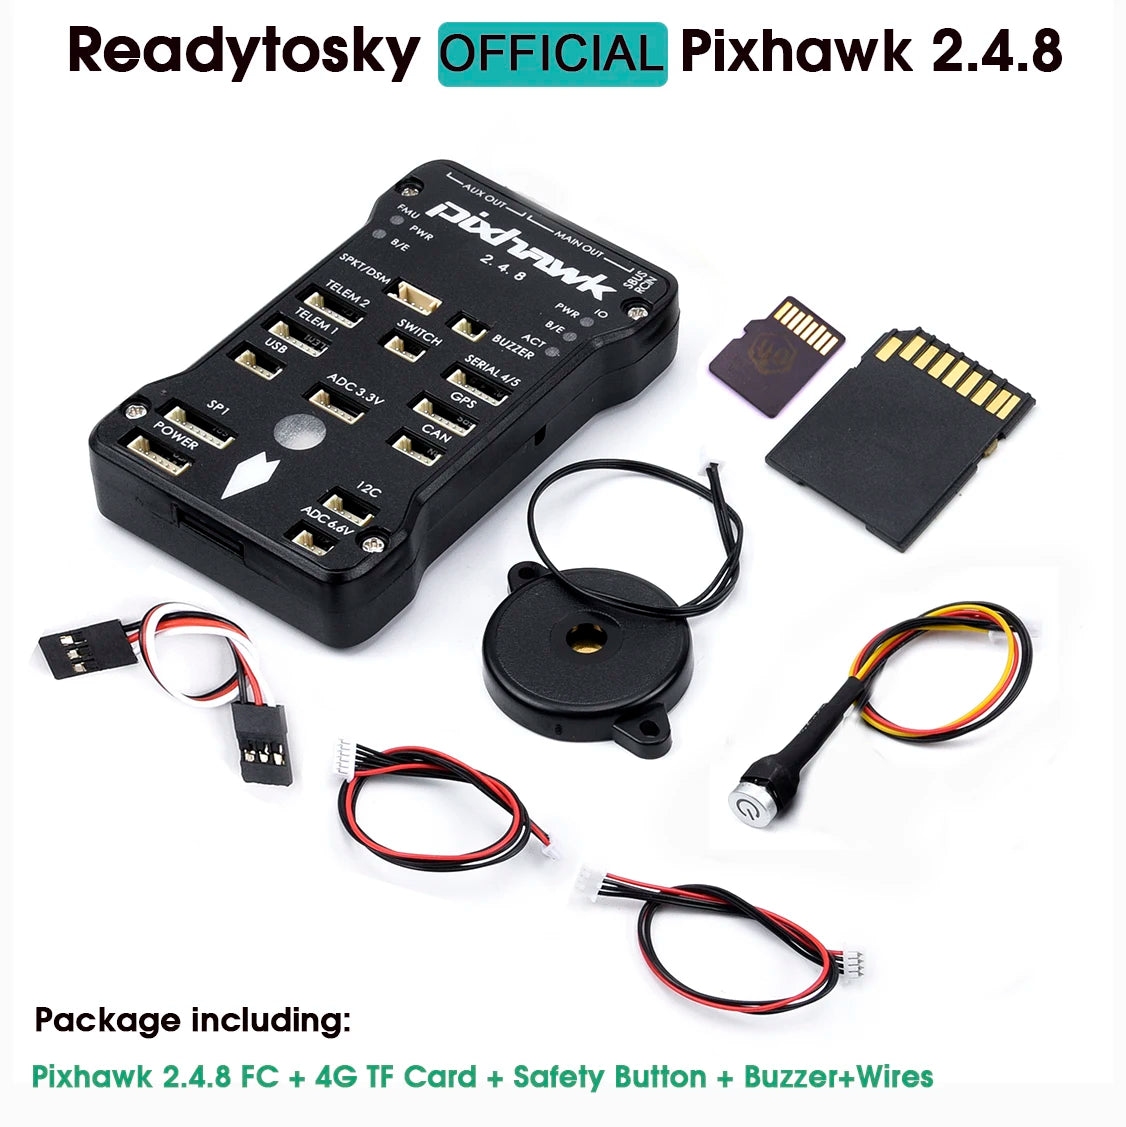
This Pixhawk 2.4.8 flight controller comes with a 4G TF card, safety button, buzzer, and wires for auxiliary outputs. It also features a TELEM module with two power inputs, a serial port, and ADC (analog-to-digital converter) channels. Additionally, it has GPS capabilities and requires power to function.
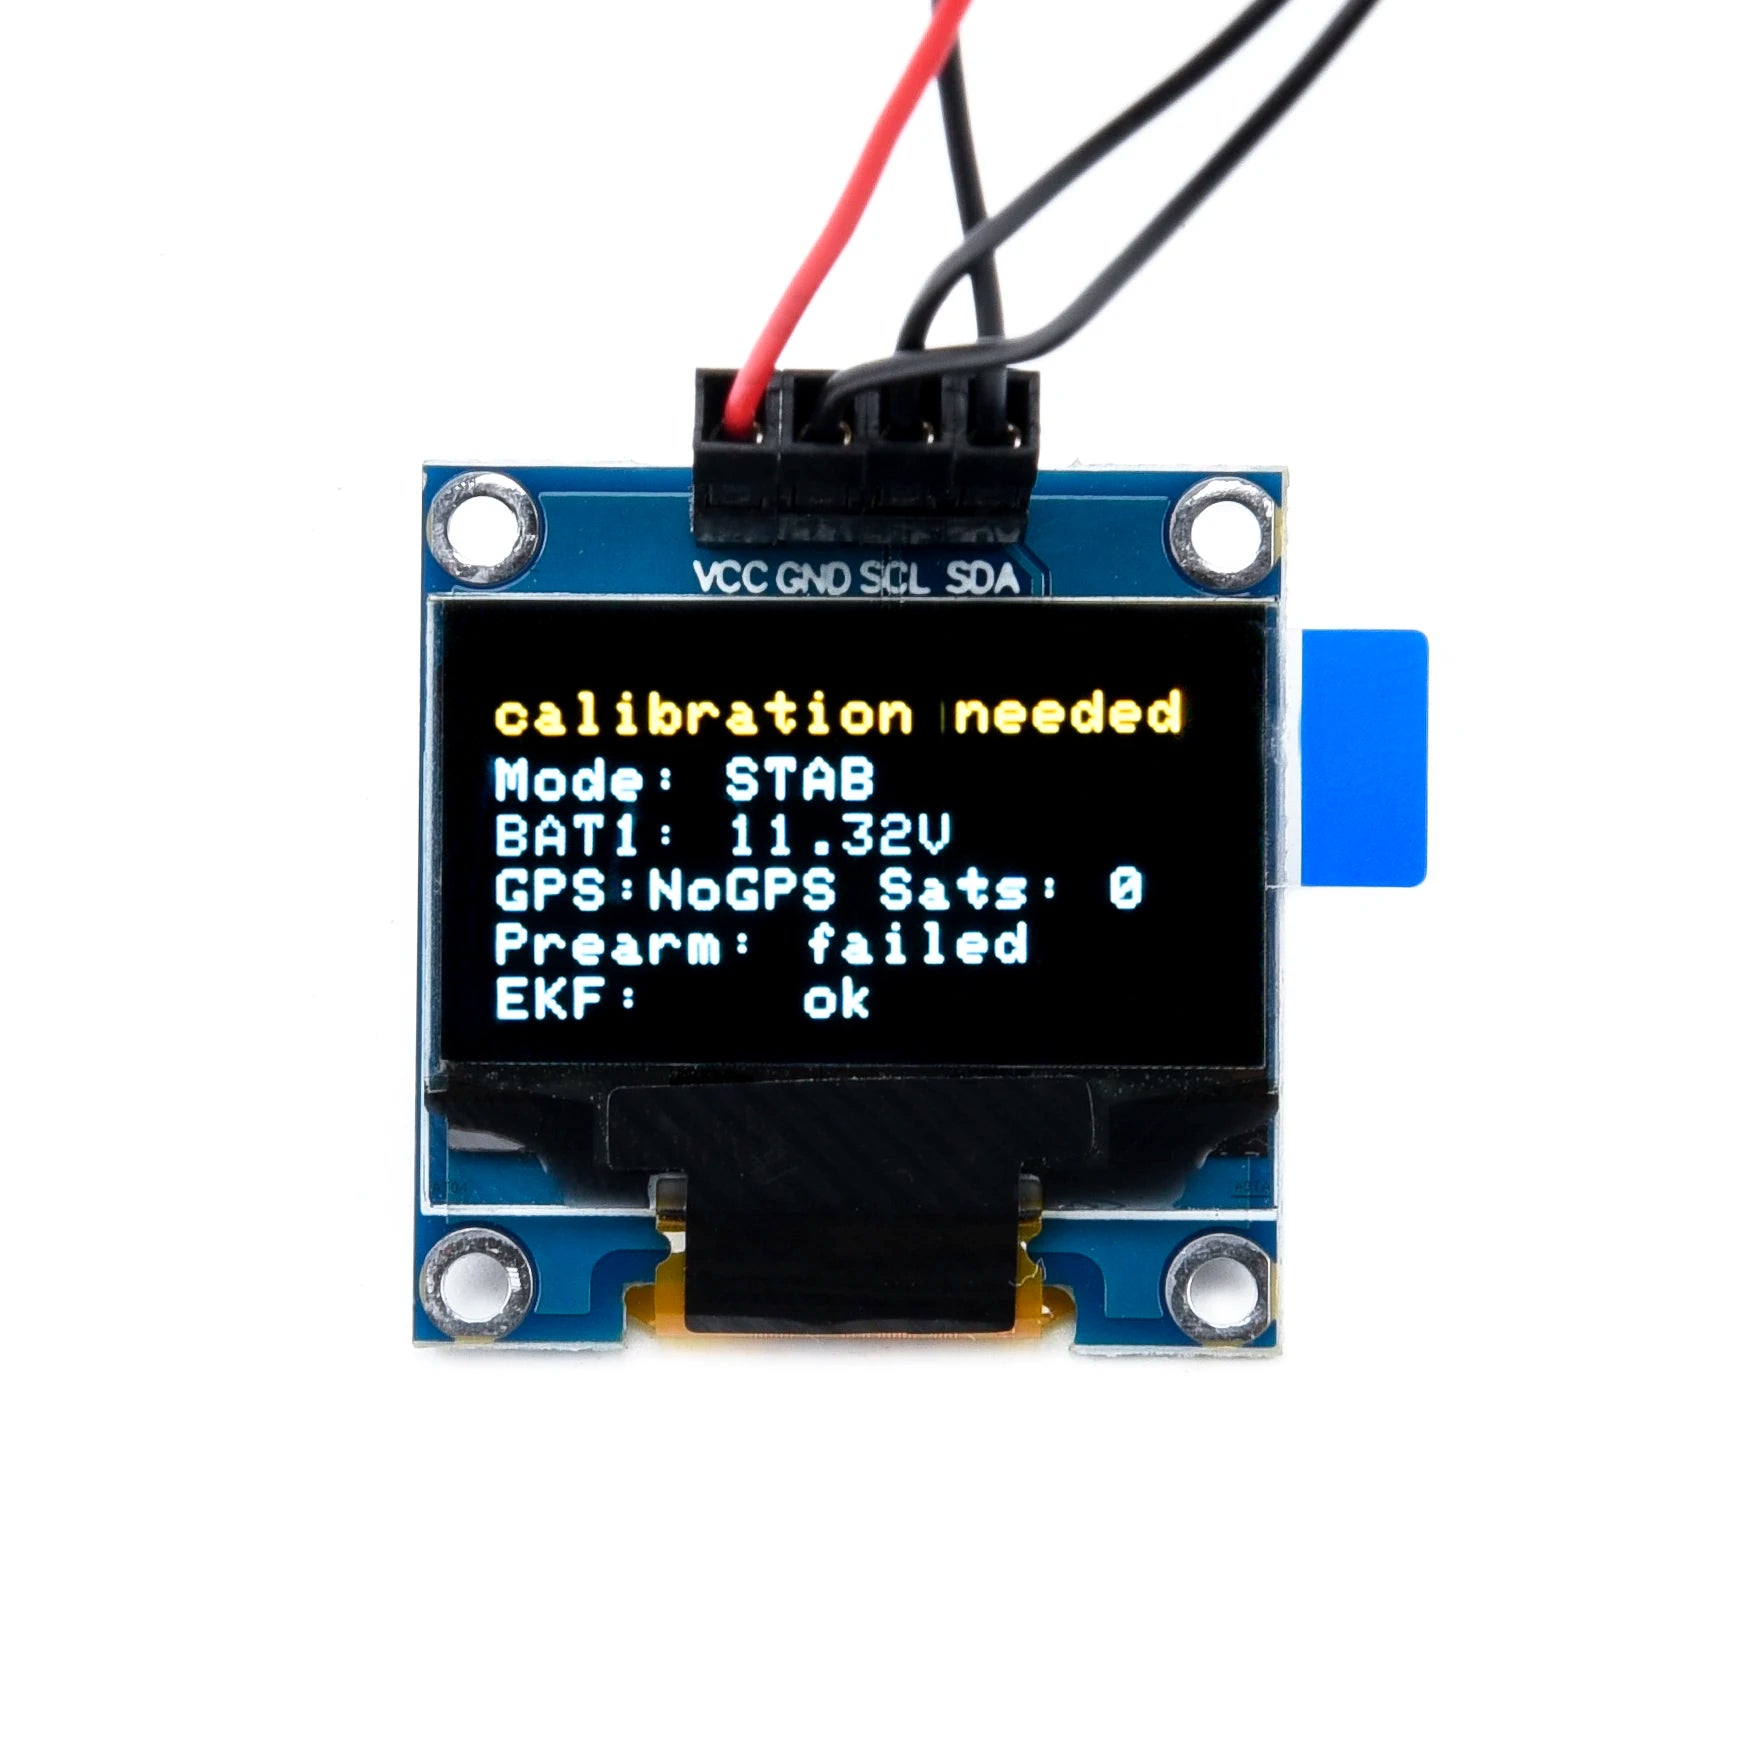
VCC, GPS, and SD card calibration are needed in Mode 'Stabilized' with a battery voltage of 11.32V. Additionally, there is no GPS data available. Pre-arming has been filed, and EKF (Extended Kalman Filter) is enabled.
