Radiolink EWRF 708R Receiver SPECIFICATIONS
Use: Vehicles & Remote Control Toys
Remote Control Peripherals/Devices: Remote Controller
Recommend Age: 12+y,14+y
Quantity: 1 pcs
Origin: Mainland China
Material: Plastic
For Vehicle Type: Cars
Brand Name: RadioLink
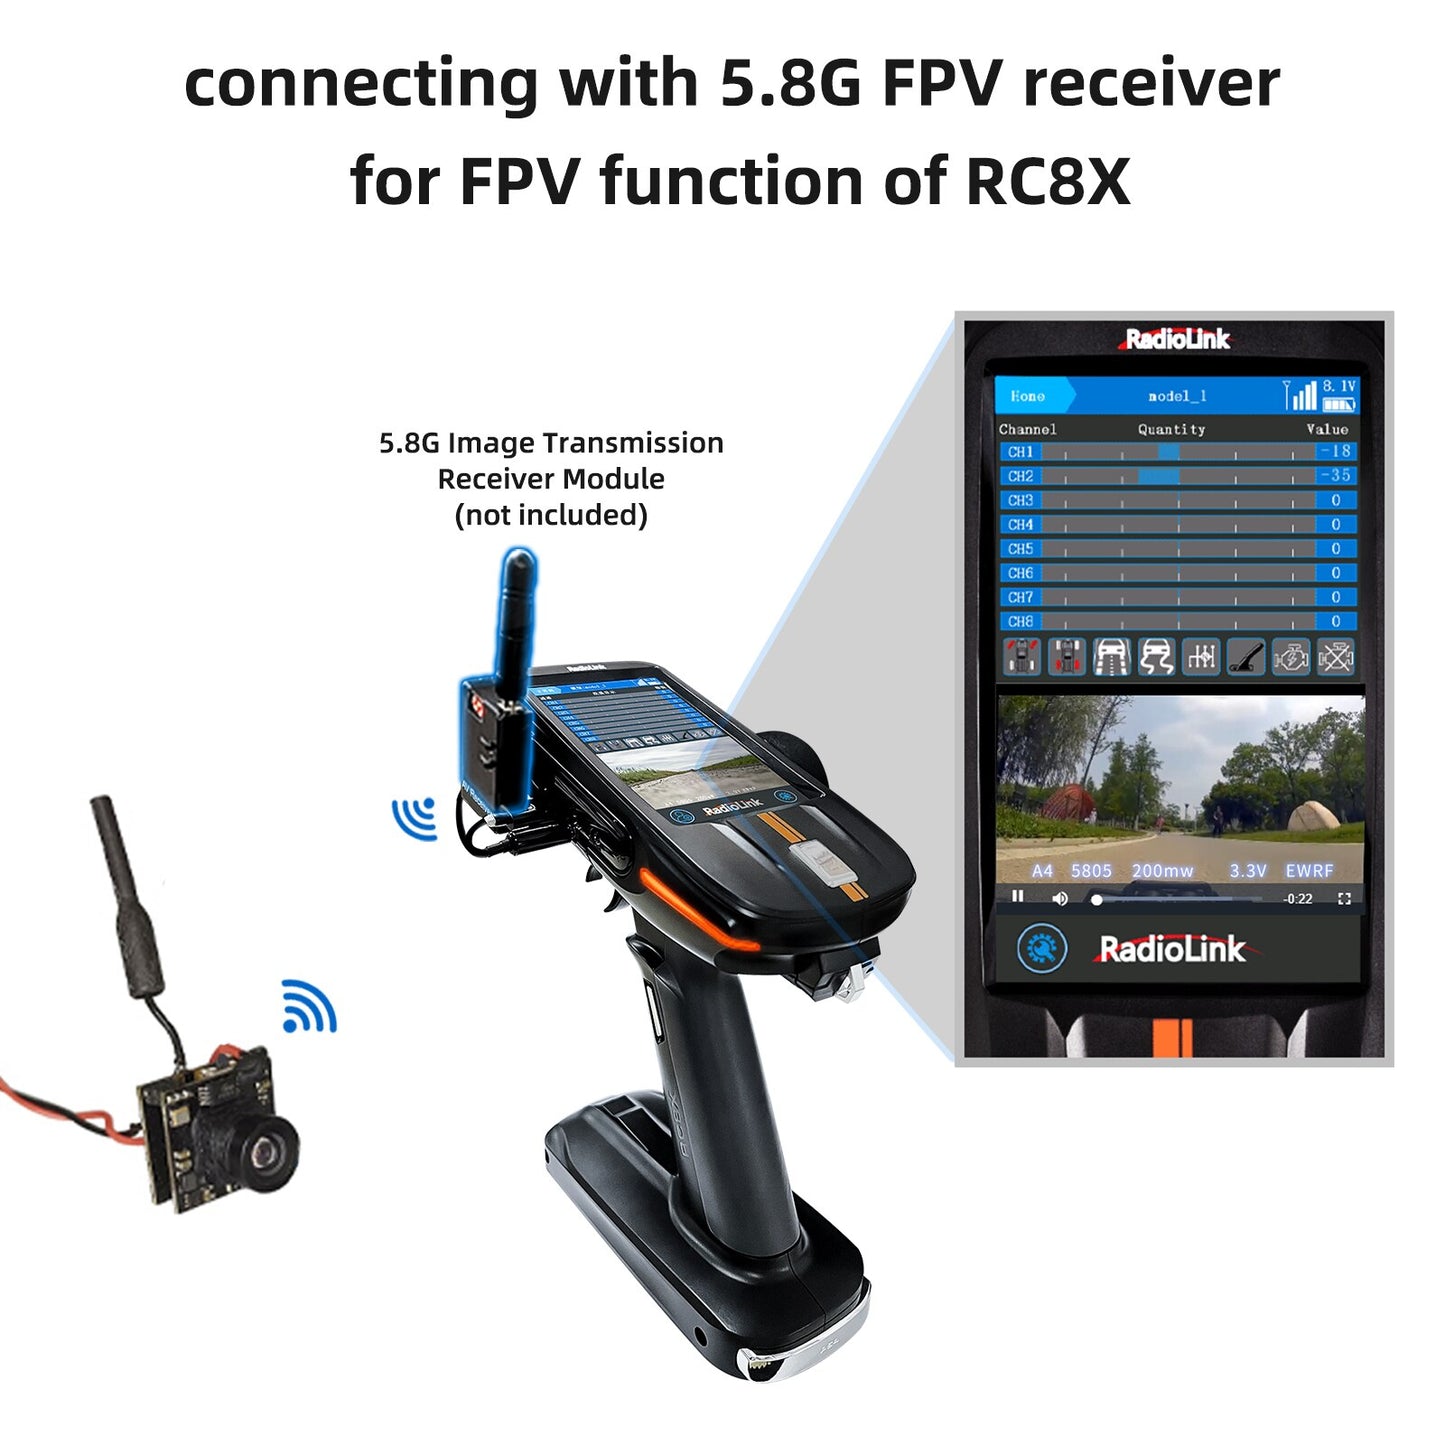
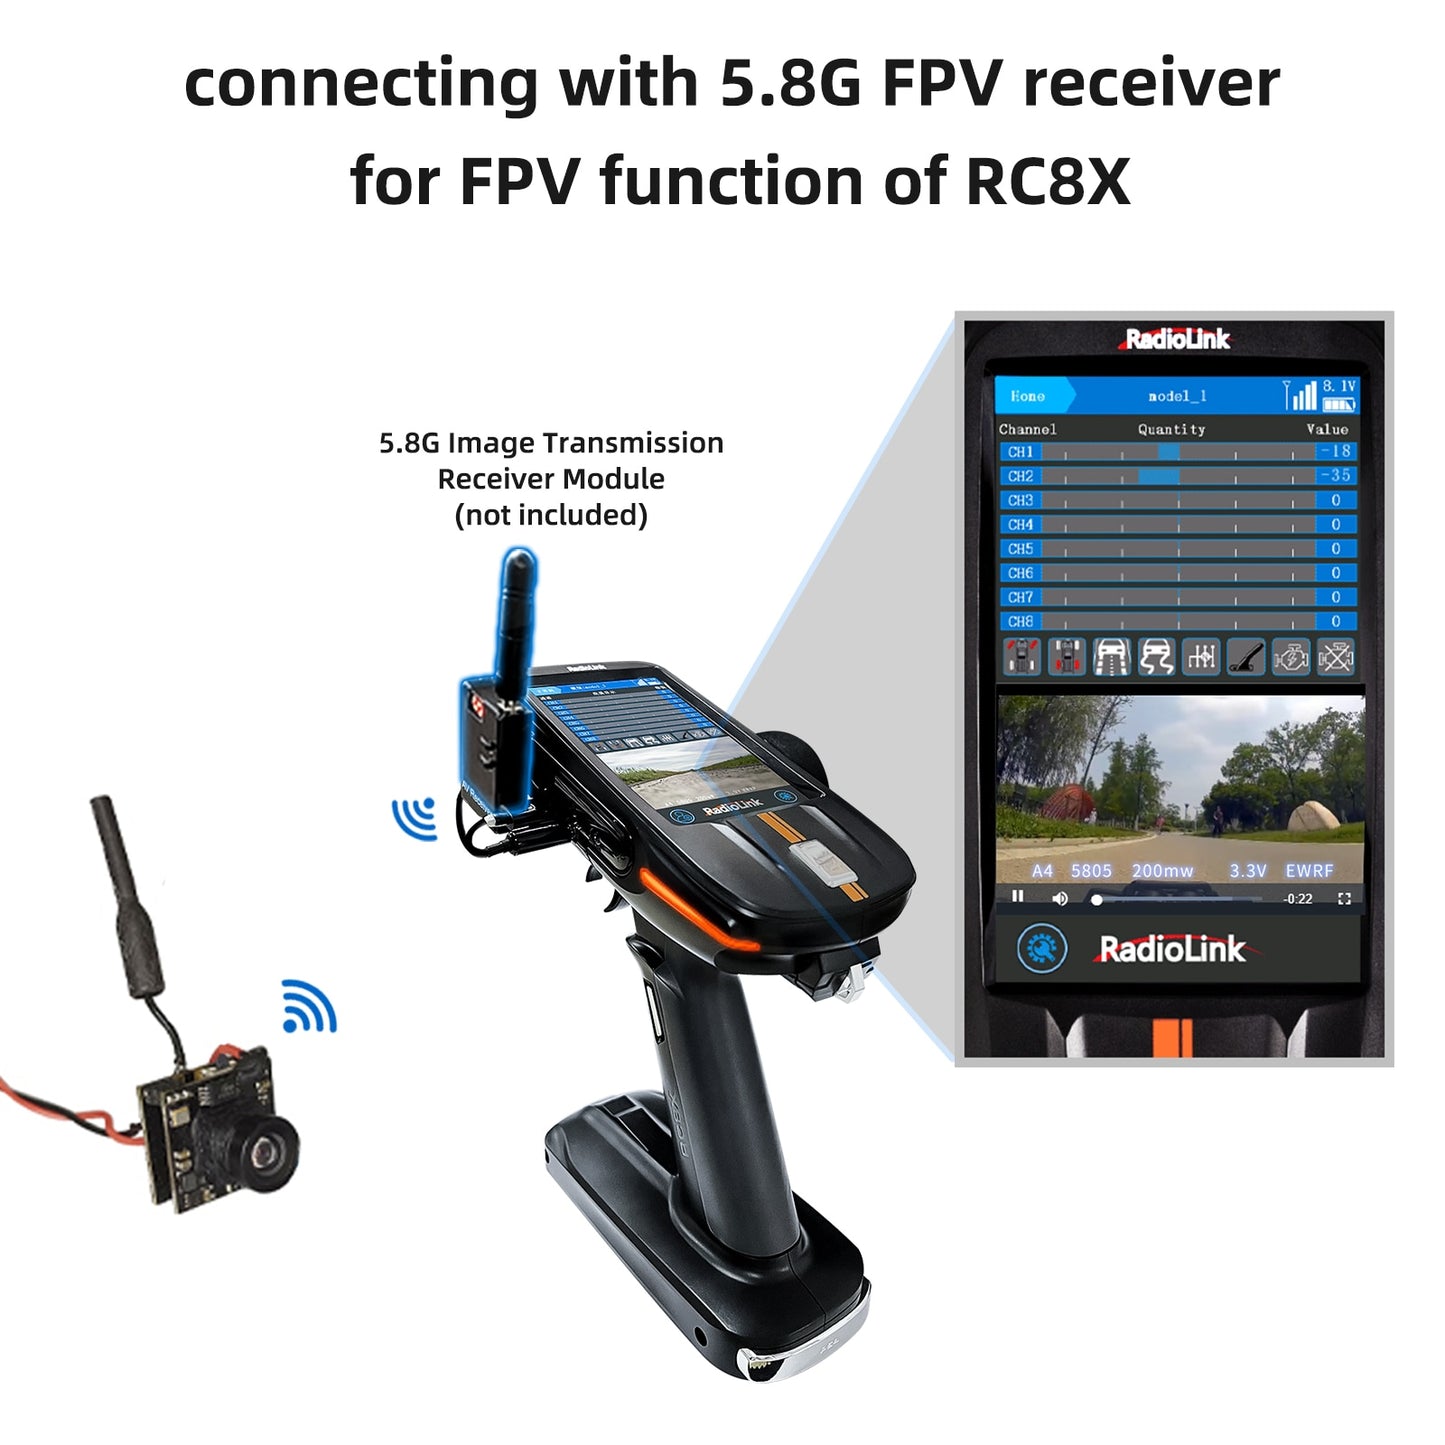
How to Set FPV Screen on RC8X?
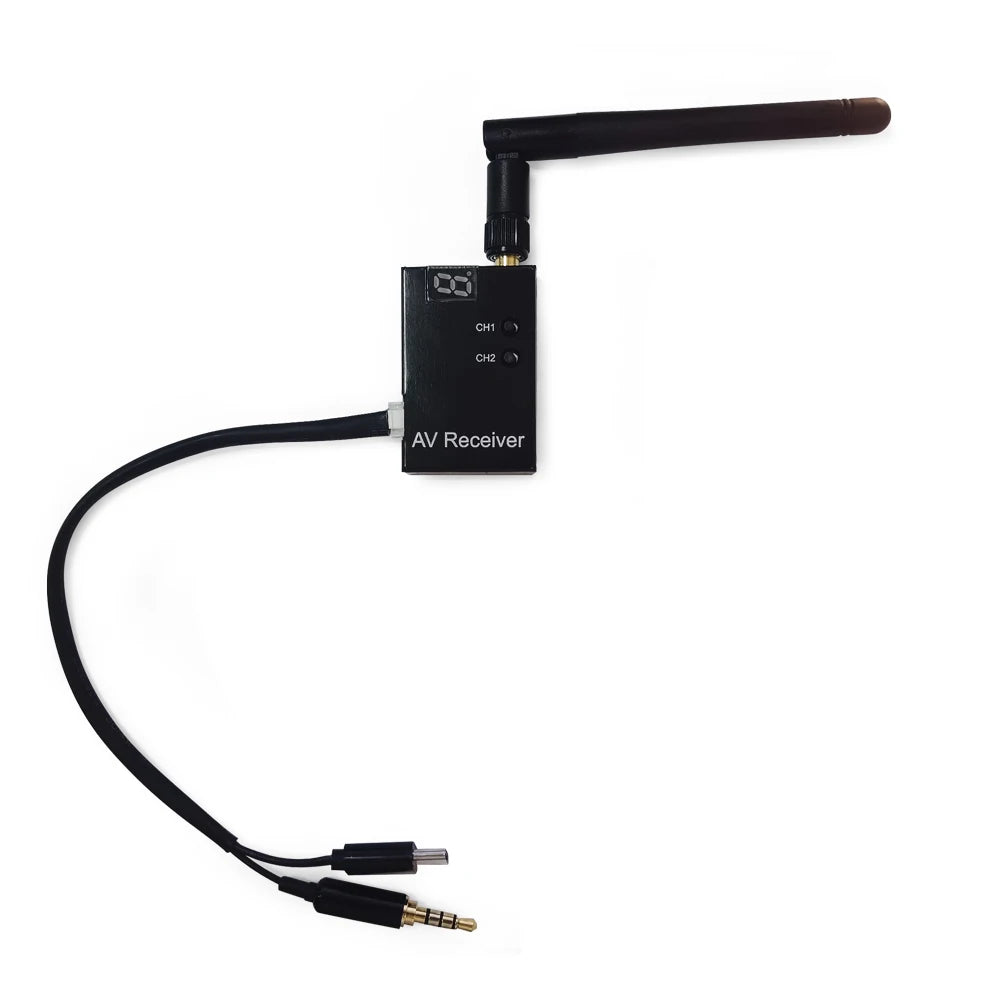
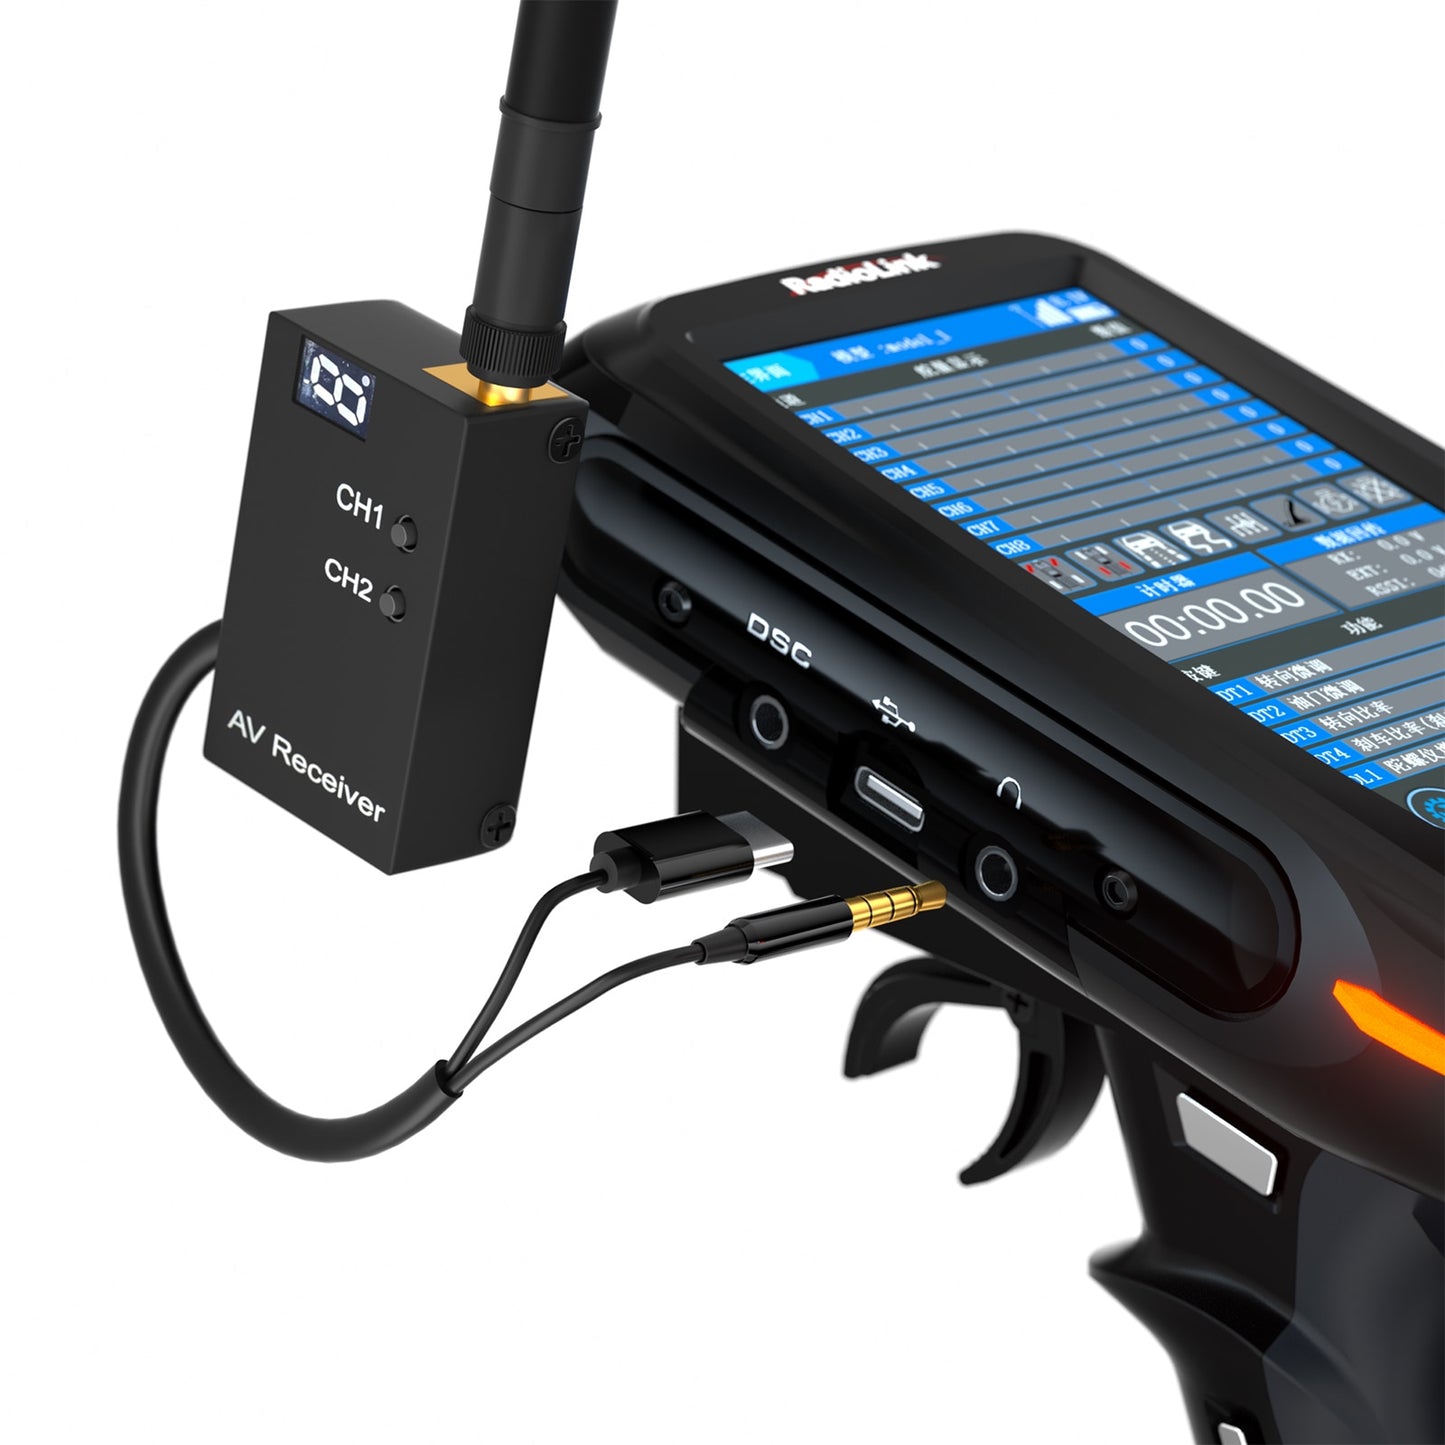
Radiolink EWRF 708R 5.8G 48CH Wireless Audio/Video FPV Receiver Module for RC8X Transmitter
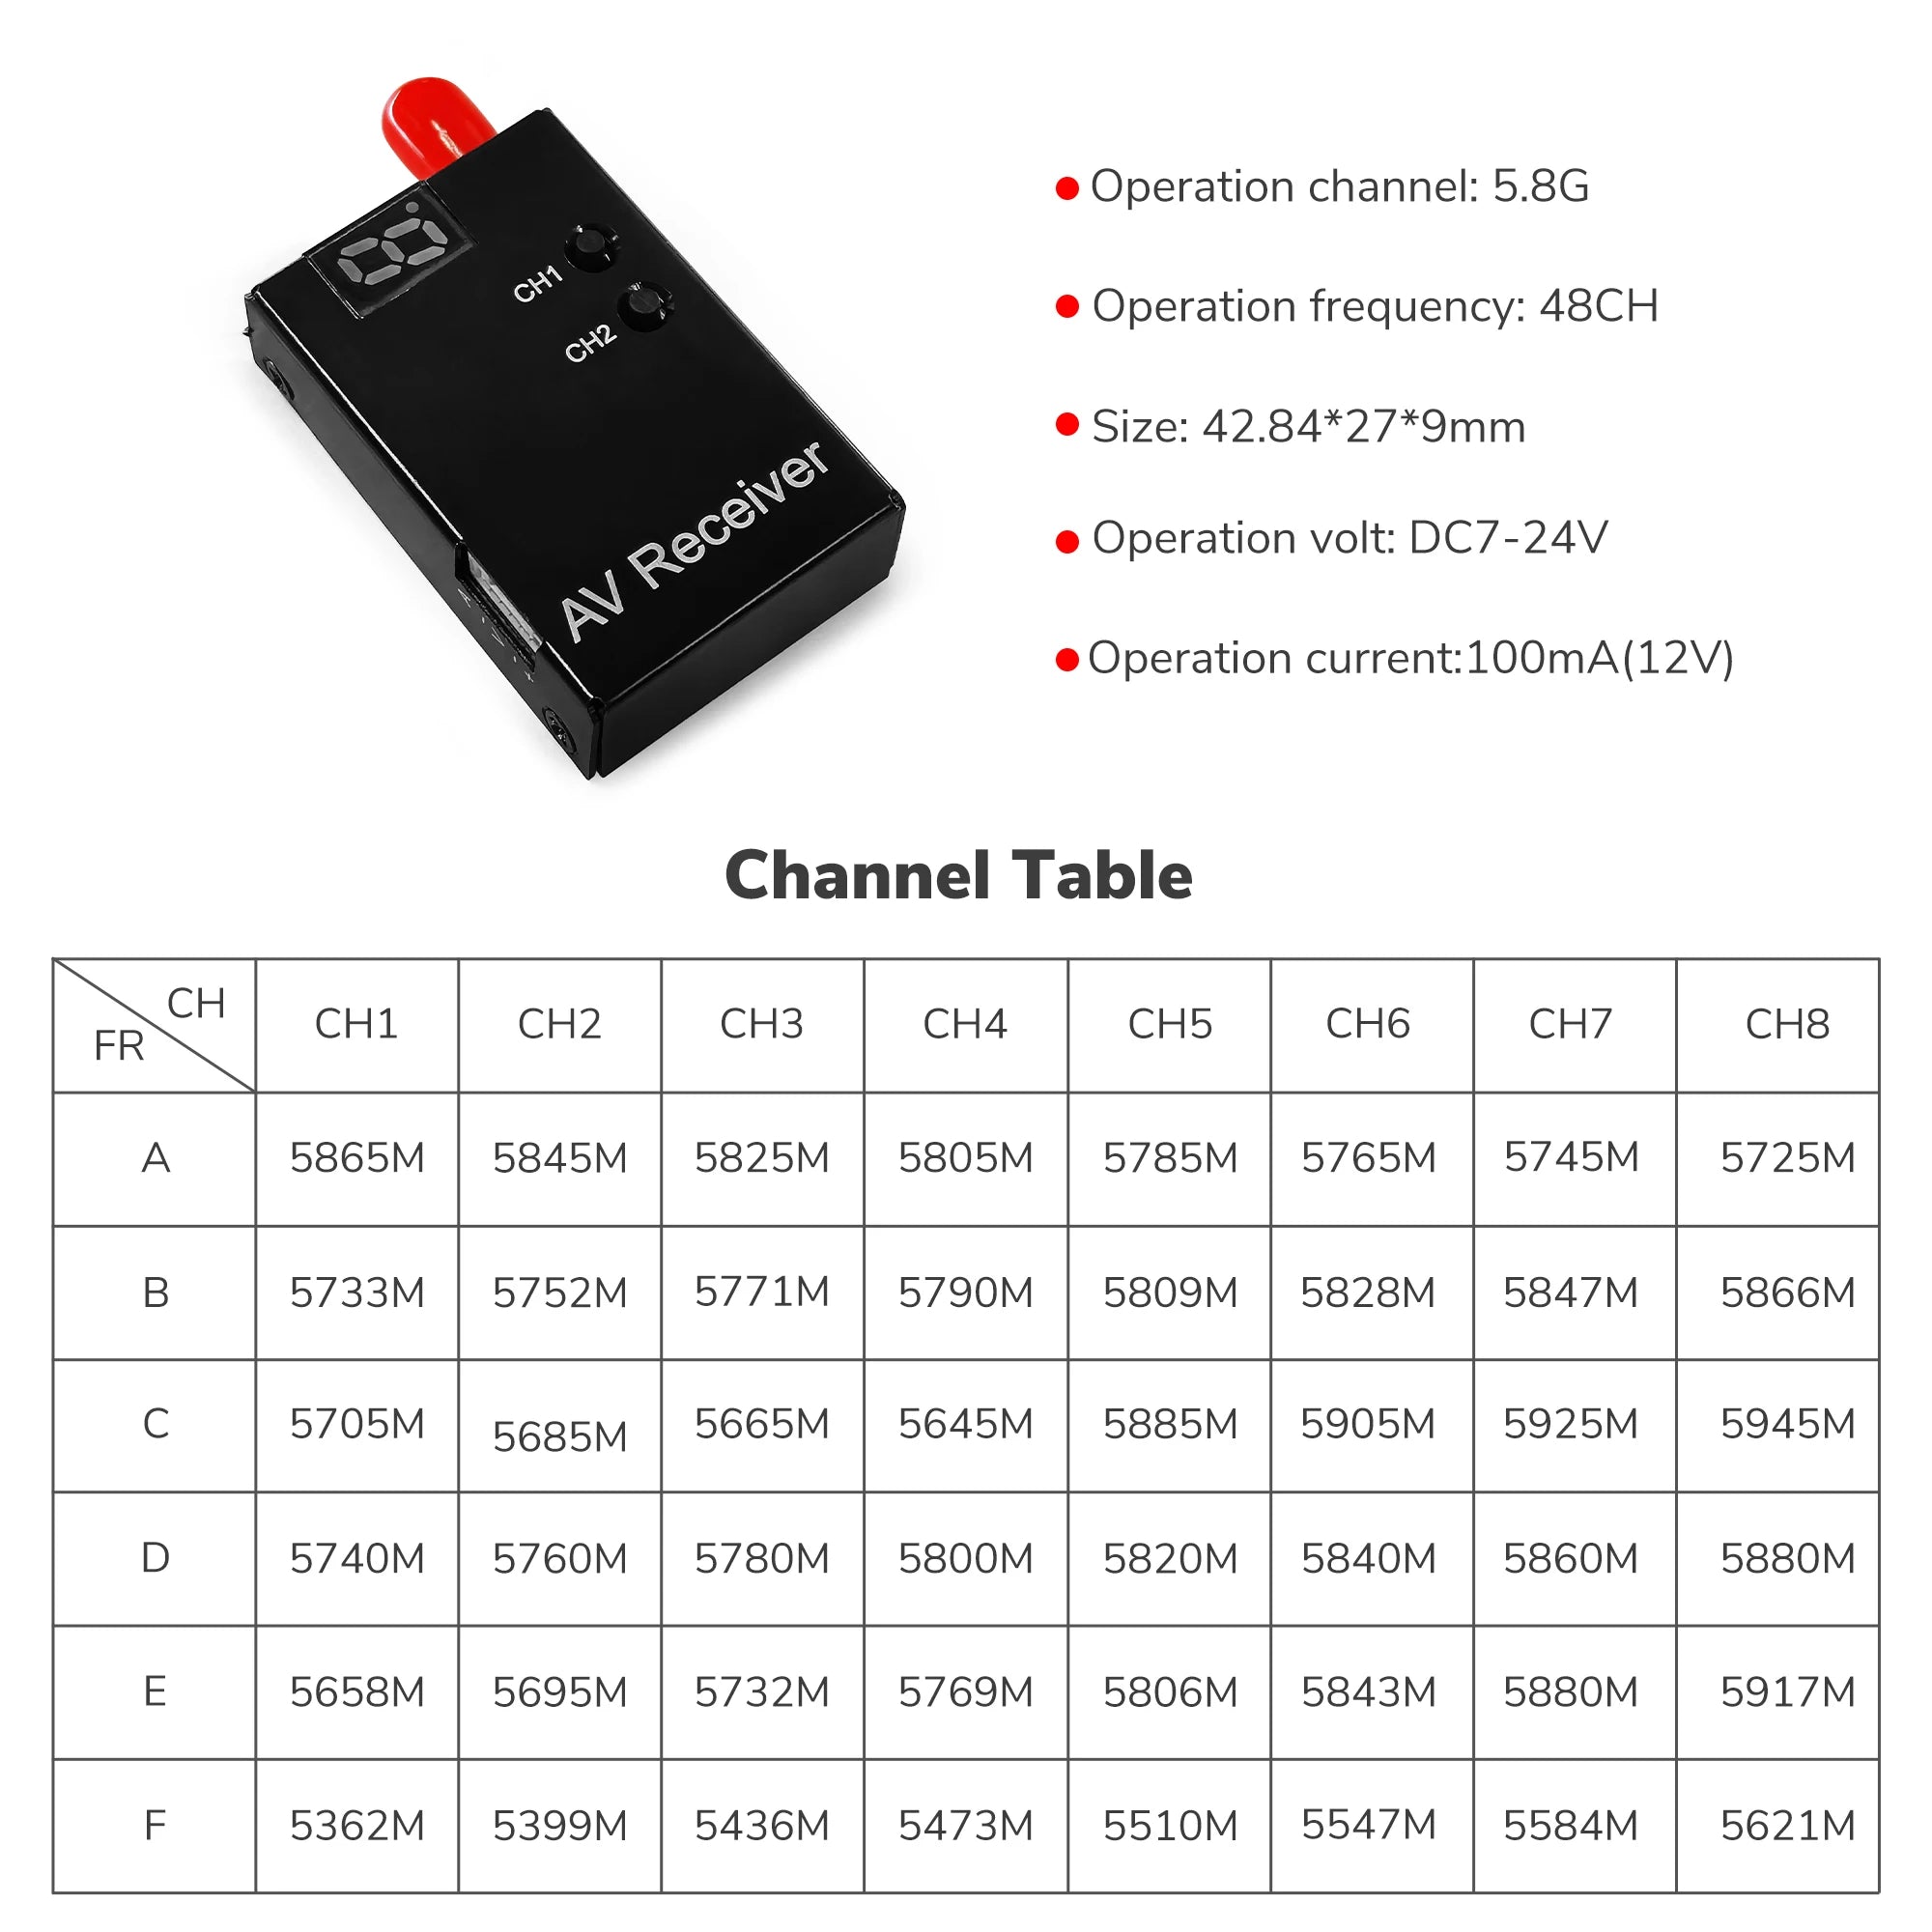
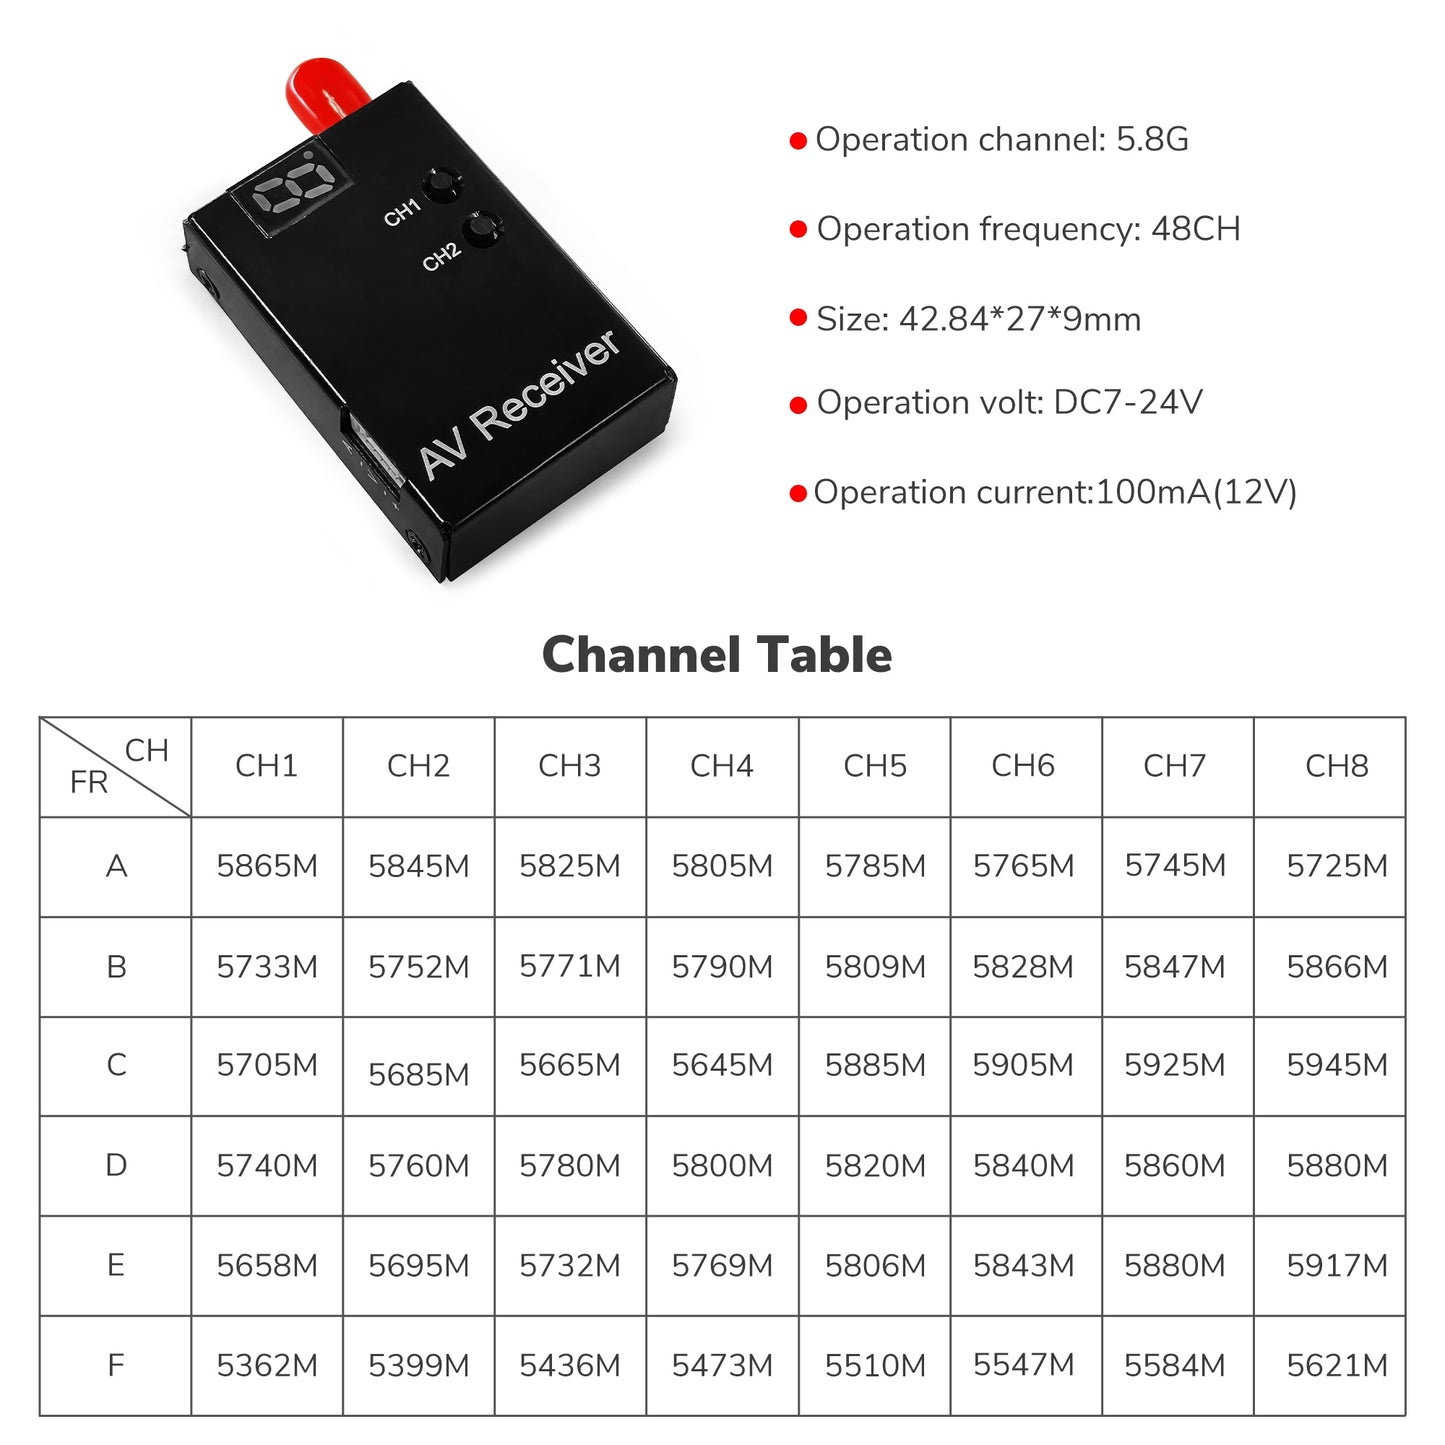
5.8G FPV receiver Specifications:
-
Model: EWRF 708R
-
Product name: 5.8G FPV receiver
-
Frequency: 5.8G
-
Channels: 48
-
Working Current: 100mA at 12V
-
Working Voltage: DC7-24V
-
Size: 27x42.8mm
-
Net weight: 11.8G
Package includes:
-
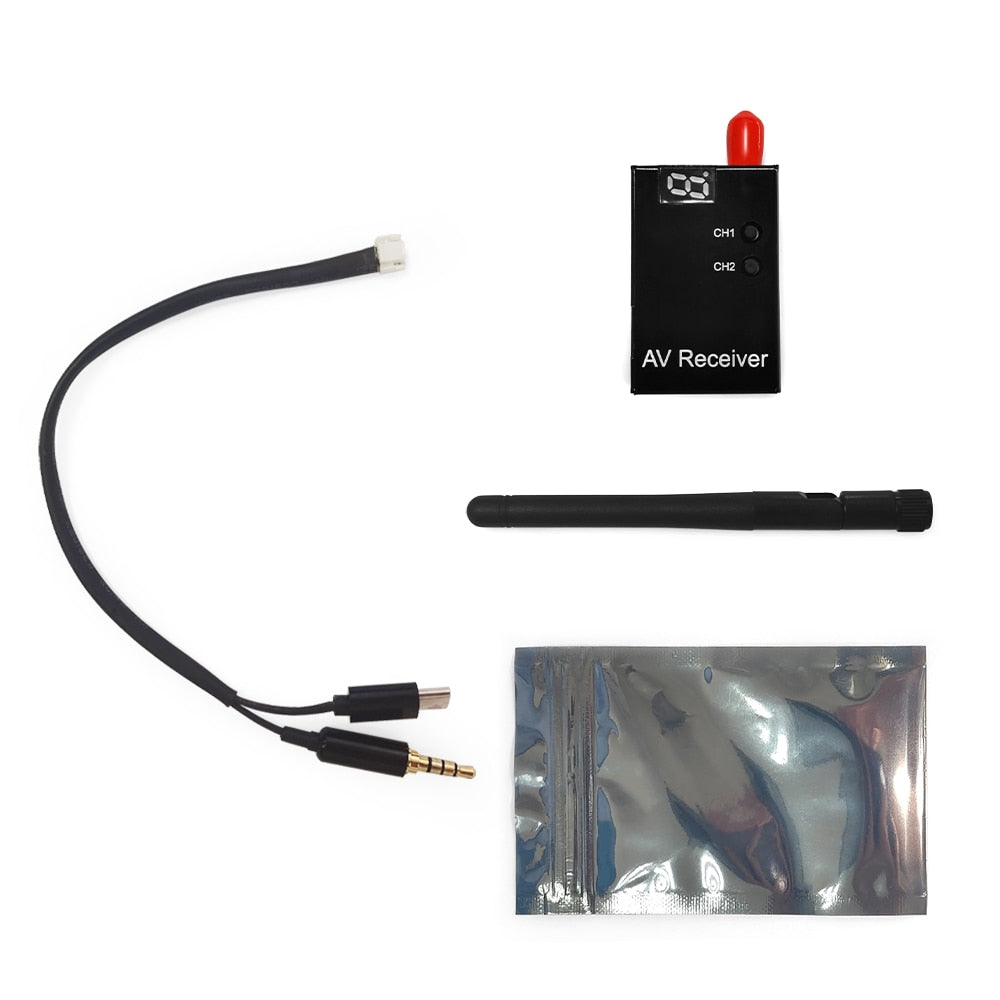
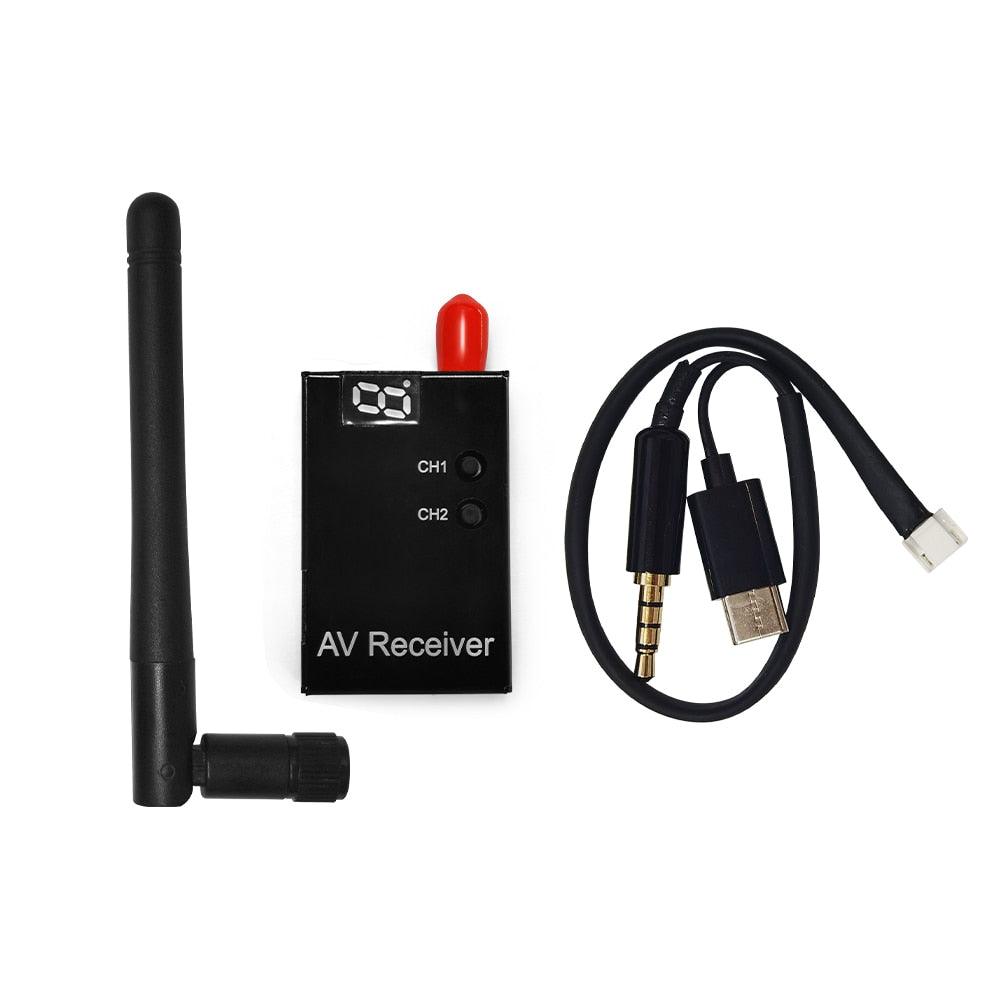
1 x 5.8G FPV Receiver
-
1 x 2 in 1 AV Connect Cable
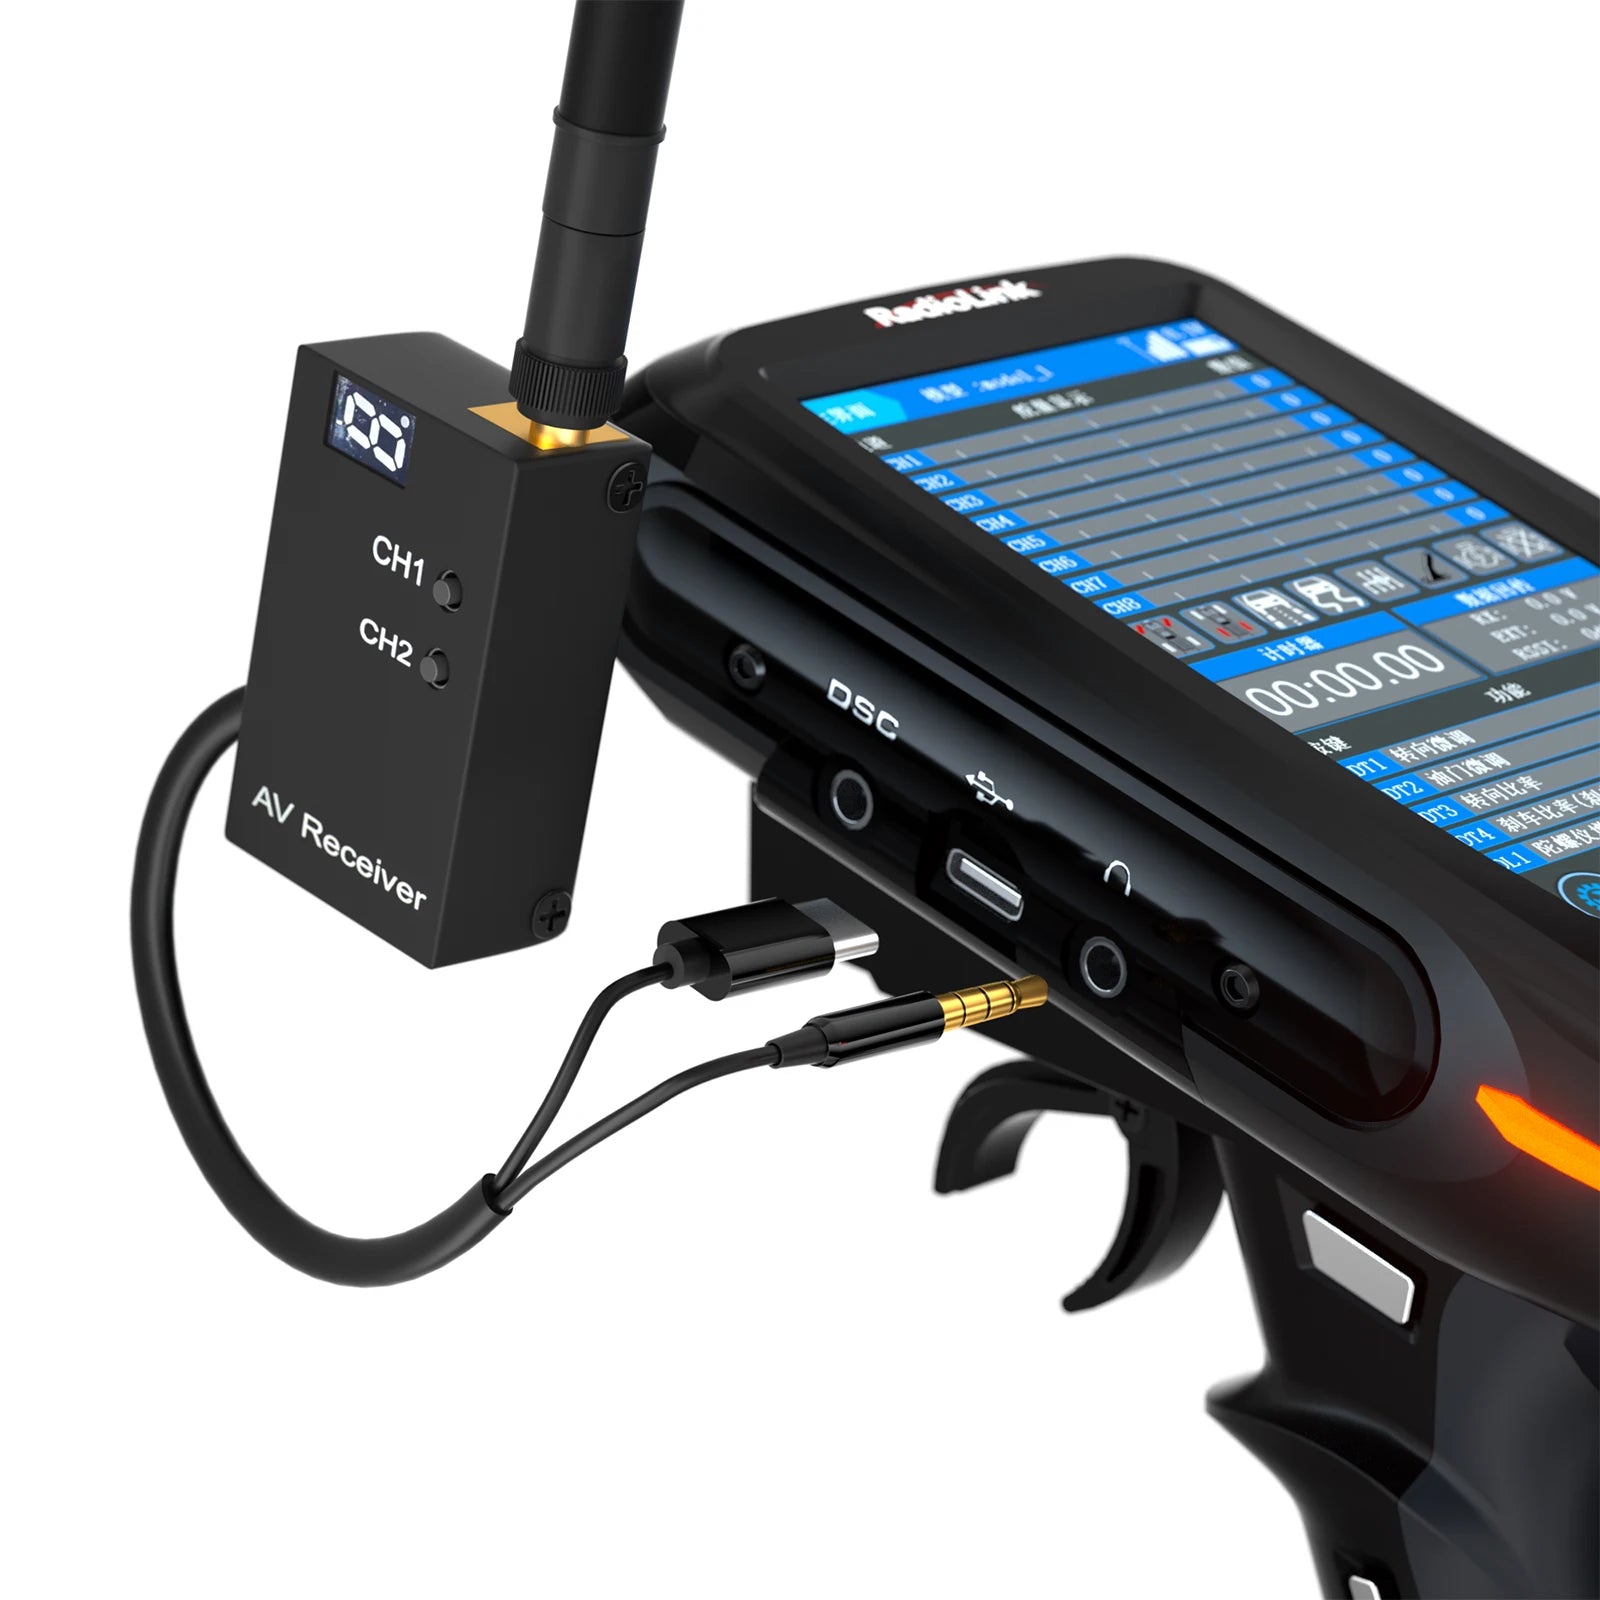
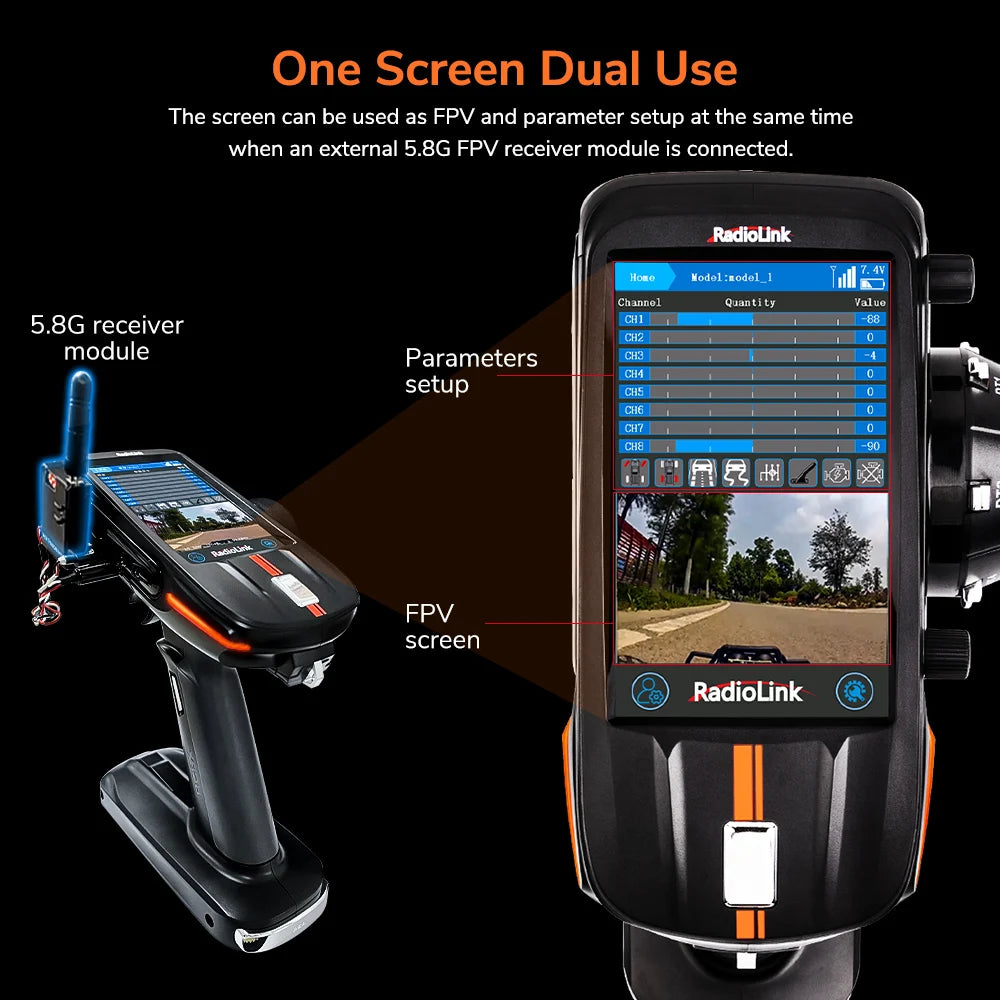
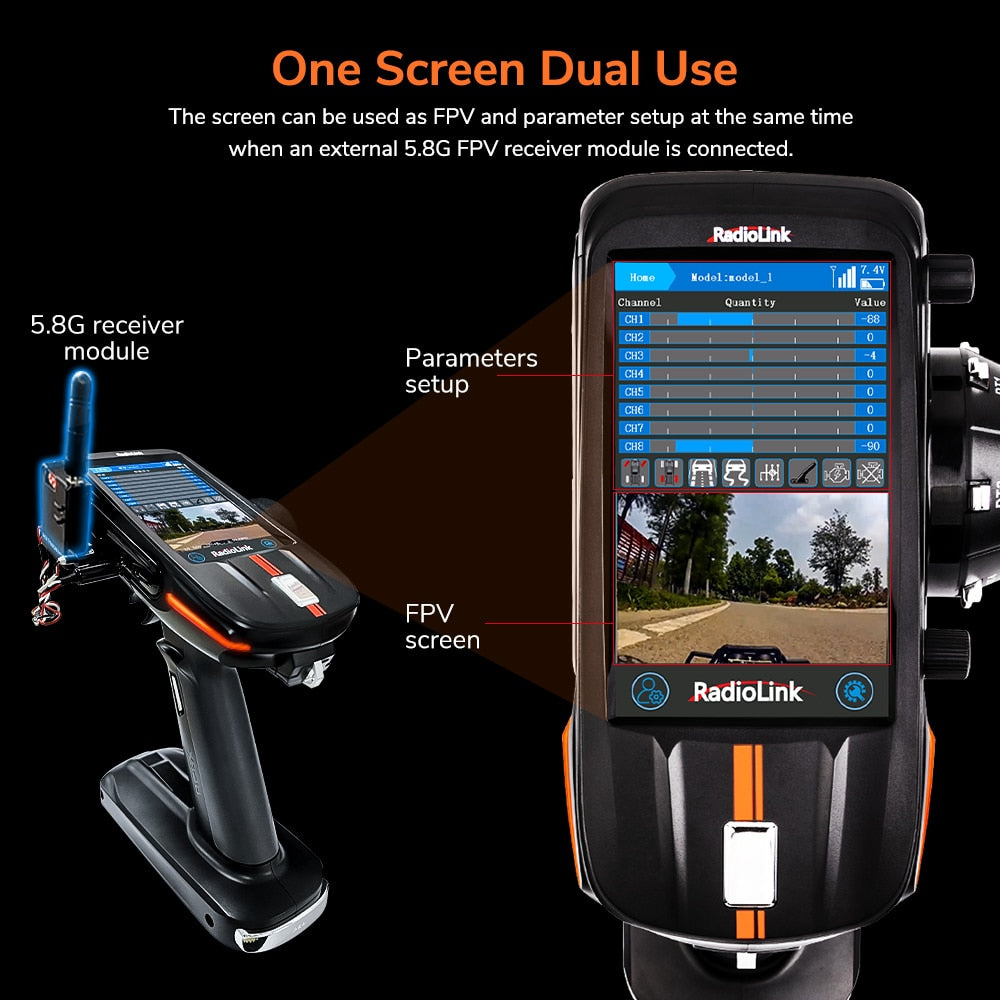
screen can be used as FPV and parameter setup at the same time . external 5.8G FPv receiver module is connected to the screen .

 Note:
Note:
If there's no image on your RC8X screen when everything is ready, please kindly press the channel 2 of the FPV receiver to search for the camera.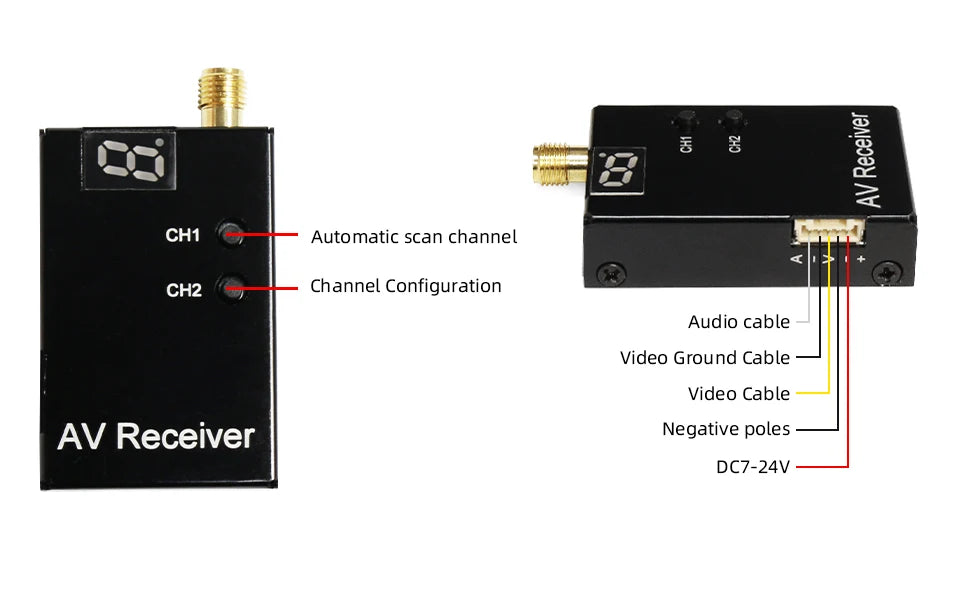
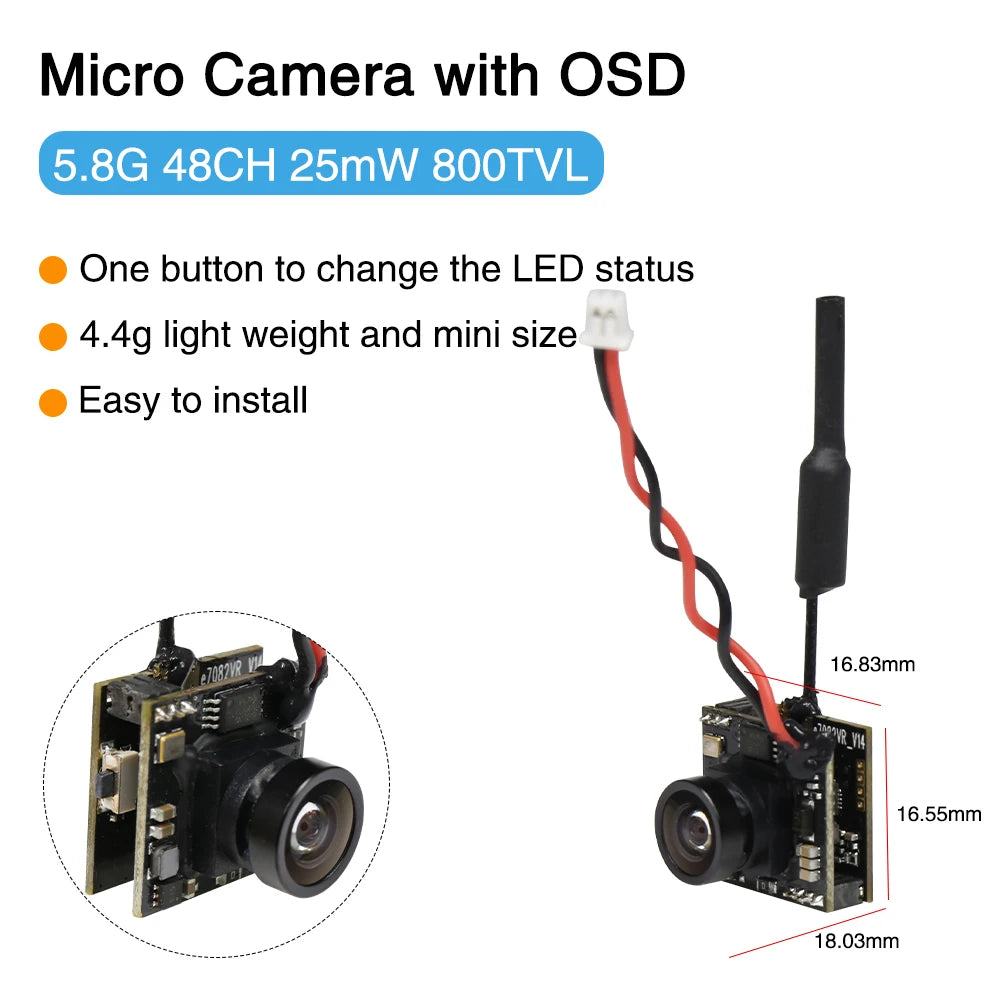
 5.8G Micro Camera with OSD Specification:
-
Telemetry Content: image transmission, frequency point, power battery voltage
-
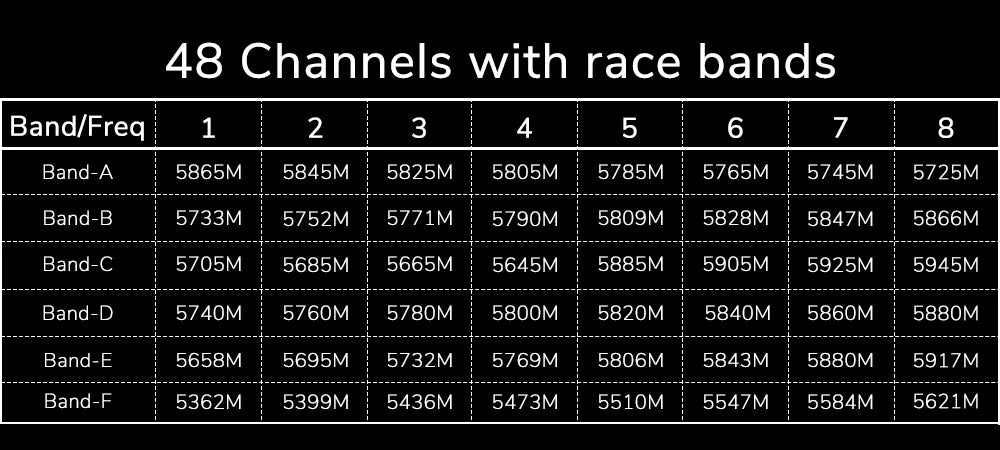
Frequency: 5.8G 48CH, 6 bands.
-
Camera Resolution: 800TVL(720P)
-
Transmitting Power: Adjustable, 25mW/100mW/200mW(Factory default is 25mW)
-
Power Input: DC3V-5.2V
-
Current(4.2v):320mA(25mW)/400mA(100mW)/460mA(200mW)
-
Video system: PAL
-
FOV: 150°
-
Focal length: 1.2mm
-
Aspect Ratio: 4:3
-
Wire Type: 28AWG
-
Size: 18.03*16.83*16.55mm
-
Weight: 4.4g
Features:
-
5.8G 800TVL Micro Camera with OSD
-
Super mini size and light weight
-
Support image flip function
-
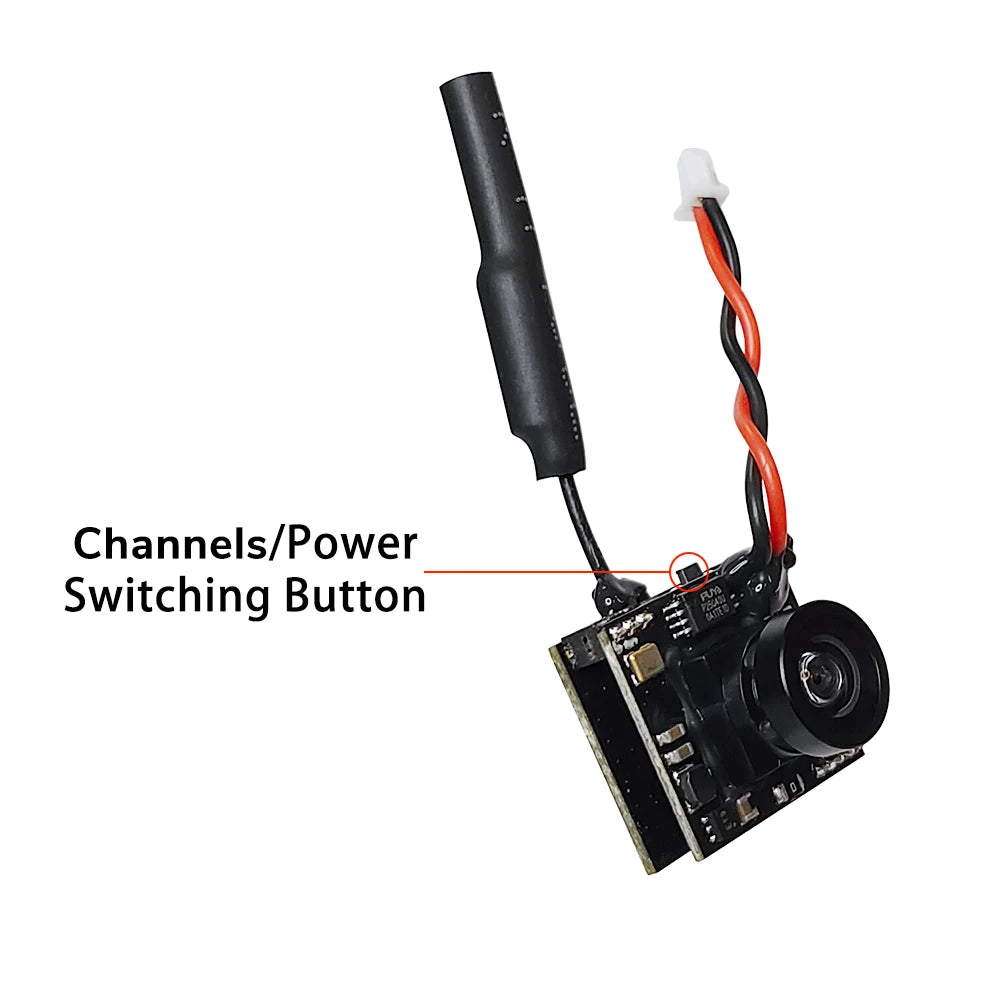
2 LED lights, 1 button
Package List:
-
Camera *1
Micro Camera with OSD 5.8G 48CH 25mW 80OTVL One button to change the LED status 4.4g light weight and mini size Easy to install 16.83mm JVh 16.55mm 18.03mm 47062VR Ad
 Operation instruction:
Frequency switching:
1.Long press the button for 5 seconds, the Red led flashes one time to enter frequency switching mode.
2.Short press the button one time to change frequency,1-8 adjustable.
3.Blue light flashes 1 time to indicate frequency 1, blue light flashes 2 times to indicate frequency 2, and then 3-8.
Band switching:
1. Long press the button for 5 seconds, the Red led flashes 2 times to enter band switching mode.
2. Short press the button one time to change band,1-6 adjustable.
3. Blue light flashes onetime to indicate band 1, blue light flashes 2 times to indicate band 2, and then 3-6.
Transmission power switching:
1. Long press the button for 5 seconds, the Red led flashes 3 times to enter power switching mode.
2. Short press the button one time to change transmission power, A-F adjustable.
3. Blue light flashes onetime to indicate 25mw, 2 times to indicate 100mw, 3 times to indicate 200mw. The greater the power, the longer the transmission distance.
Note: The default transmission power is 25mw to oversea because of the policy. Please switch as you need.
Transmission mode switching:
1. Normal working mode: The red and blue led is always on.
2. Low power modulation mode(Pitmode): The red led is on and blue led is off. Under this mode, the transmission distance is 1-2 meters.
3. Short press the button 2 times to switch the mode.
Note: After all the parameters are setup, long press the button, and the red and blue light on indicates to enter the save mode, and then the working mode, otherwise the module cannot exit the setting state and cannot save the set parameters.
Related Collections

Explore More Drones & Accessories
-

Camera Drone
Our Camera Drone Collection features a wide range of brands including FIMI,...
-
Drone Accessories
Discover a wide range of drone accessories to enhance flight performance, extend...


