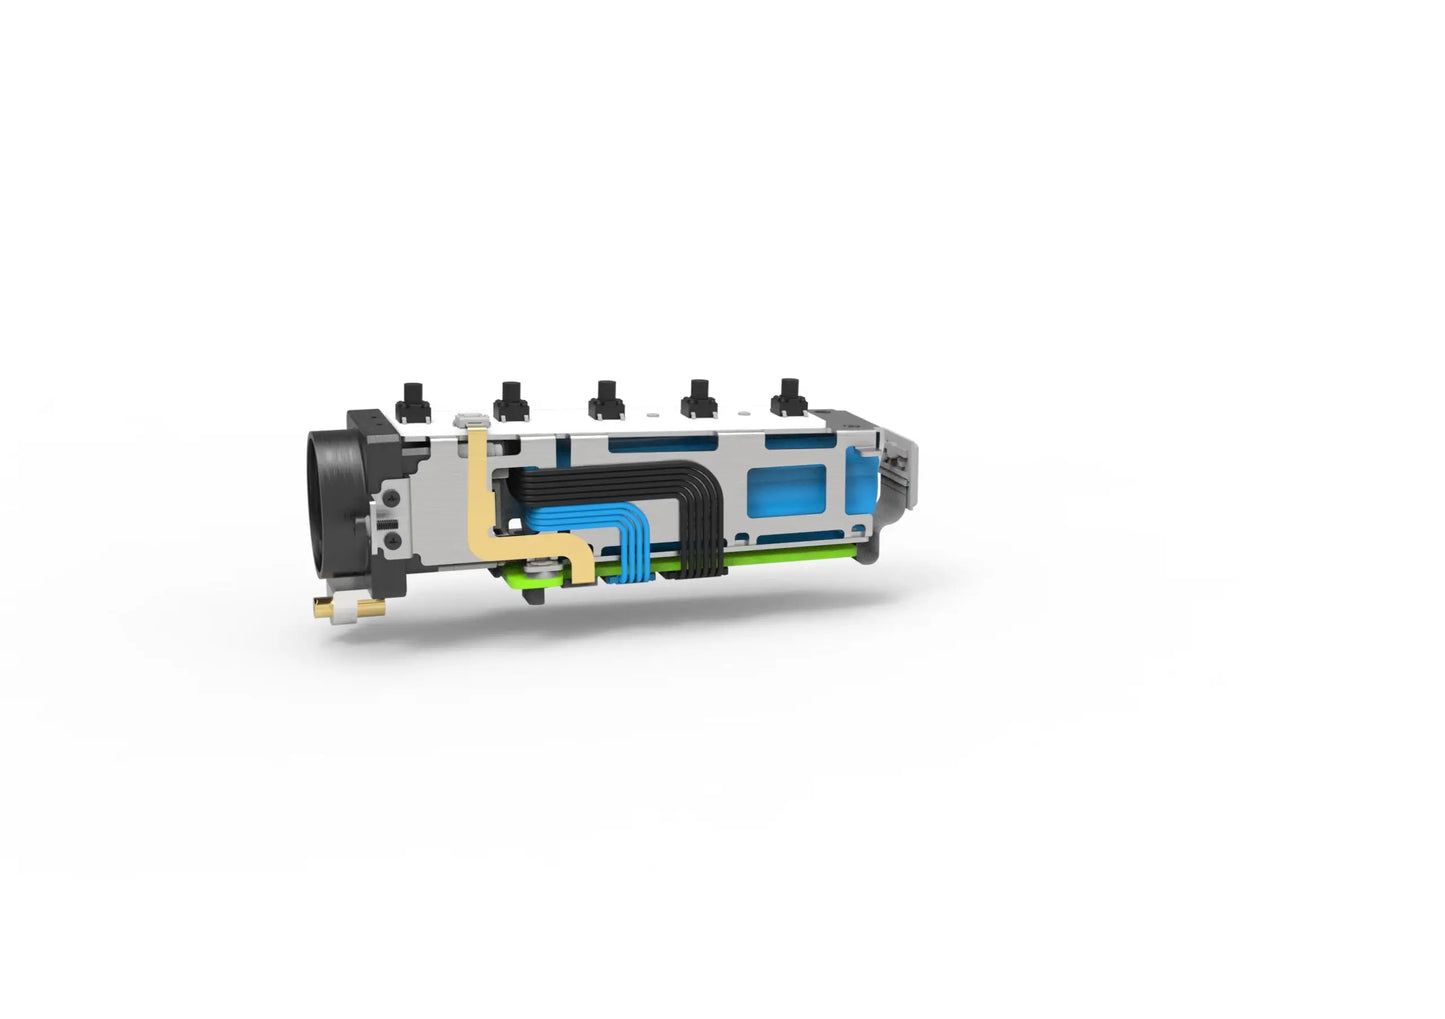
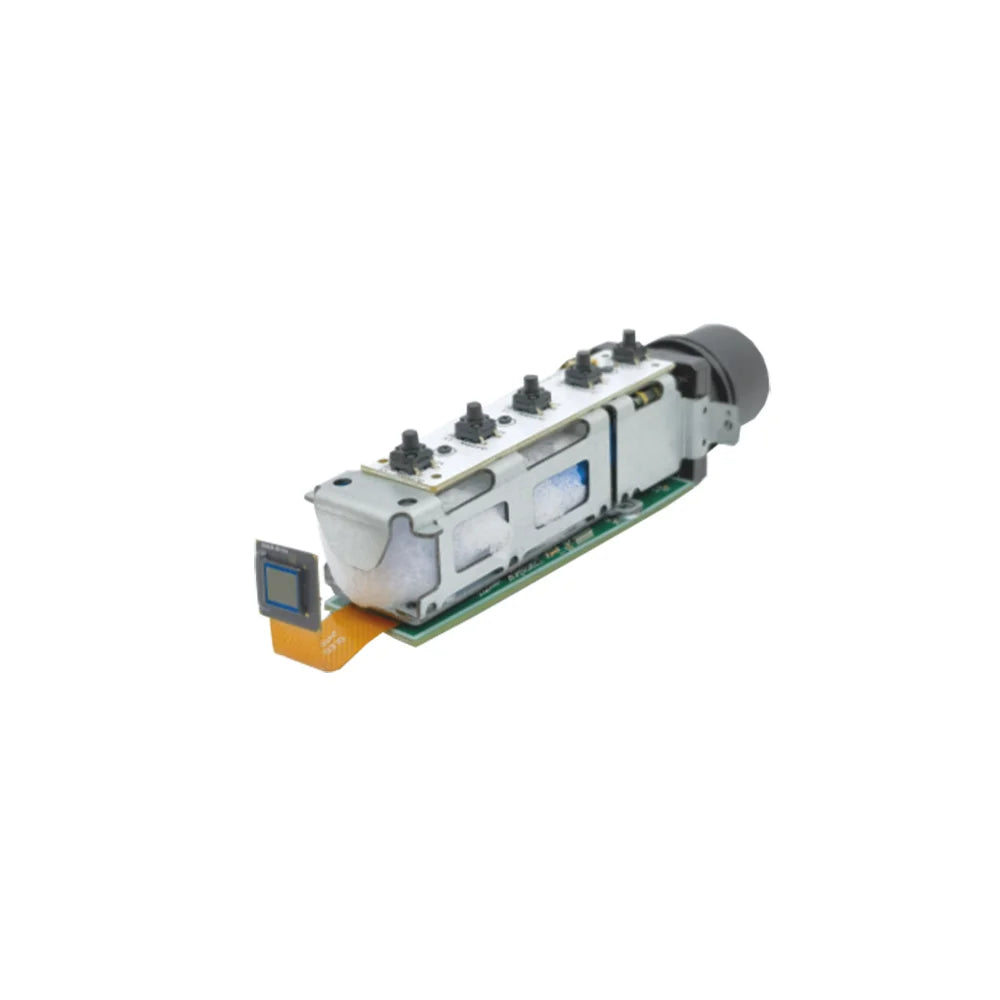
Infrared thermal imaging binoculars outdoor hunting 384x288 detector only provide applications and solutions for ODM,OEM,DIY
Infrared thermal imaging binoculars outdoor hunting 384x288 detector only provide applications and solutions for ODM,OEM,DIY
RCDrone
3 orders in last 90 days
Couldn't load pickup availability
Warehouse: China/USA/Europe, can delivery to all countries;
Free Shipping: 9-15 days;
Express Shipping: 5-8 days;
Return&Refund: 30 Days.
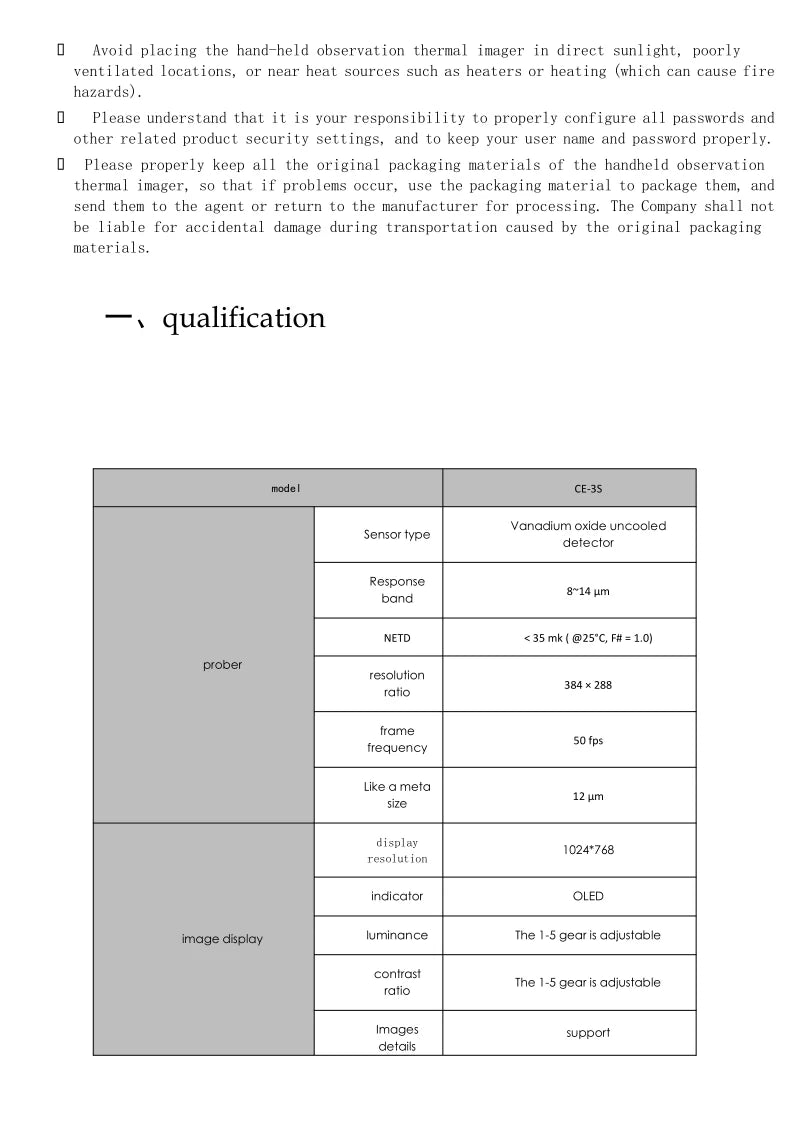
SPECIFICATIONS
Brand Name: NoEnName_Null
Origin: Mainland China
Certification: CE
Model Number: 384*288
Smart home platform: Other
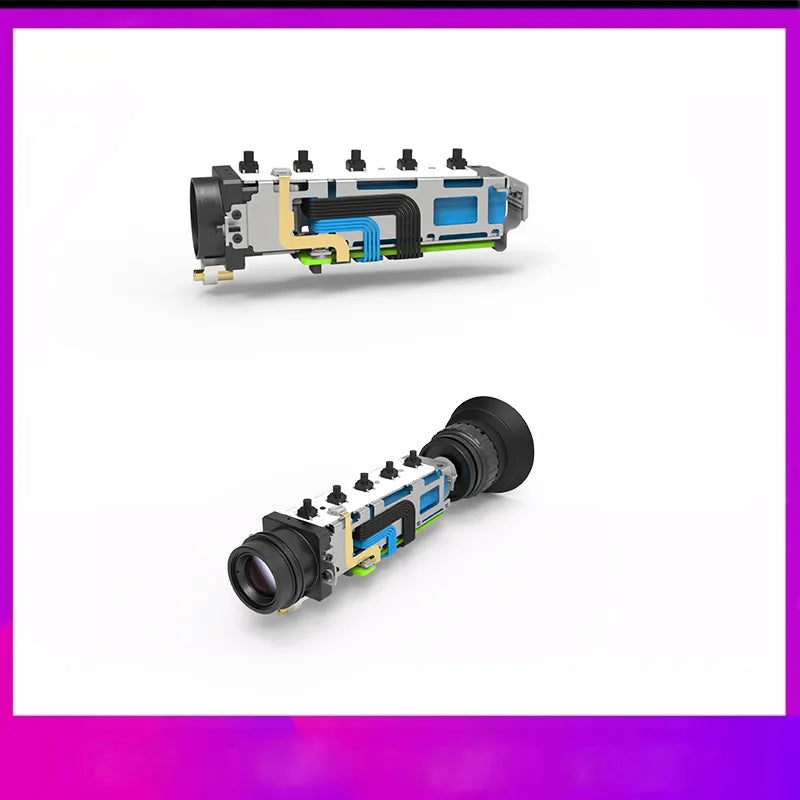
This product only provides the application and solution, without housing, customers can use for ODM, OEM, DIY
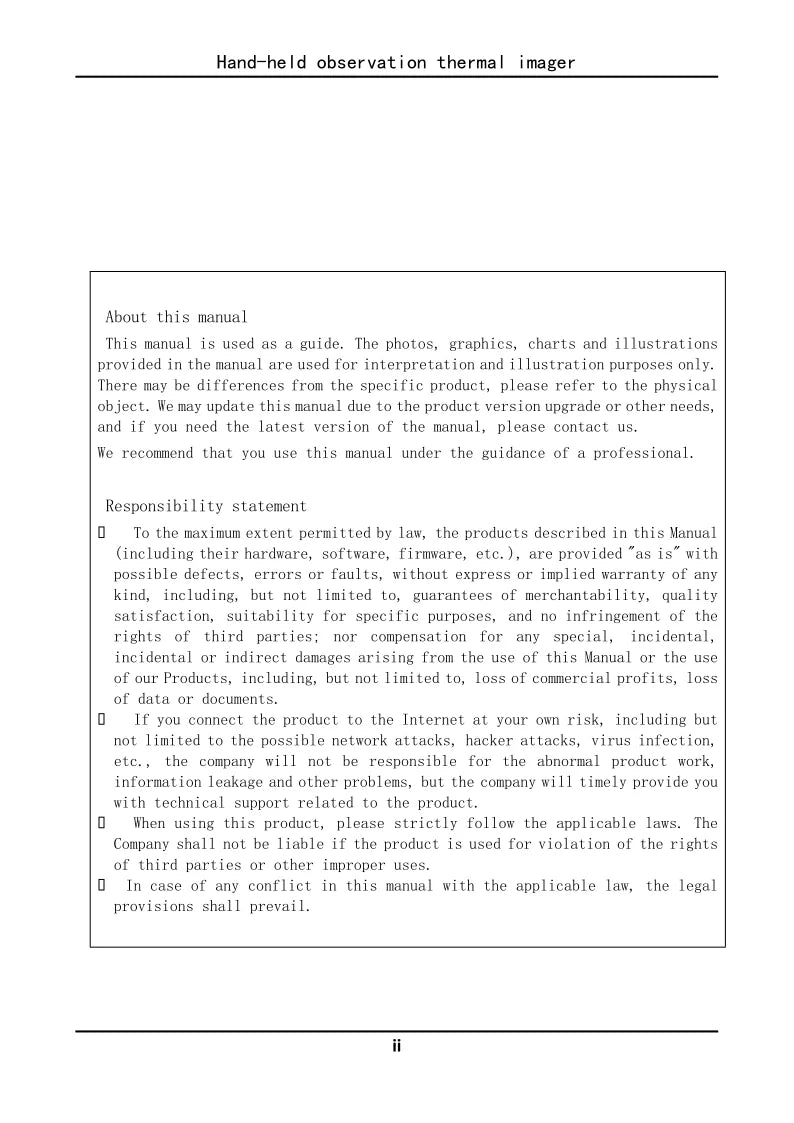
che company will not be responsible for the abnorma [ product work_ inforua t leakage and other prob CItIS , but the company will timely provide you with technical support related to the product_
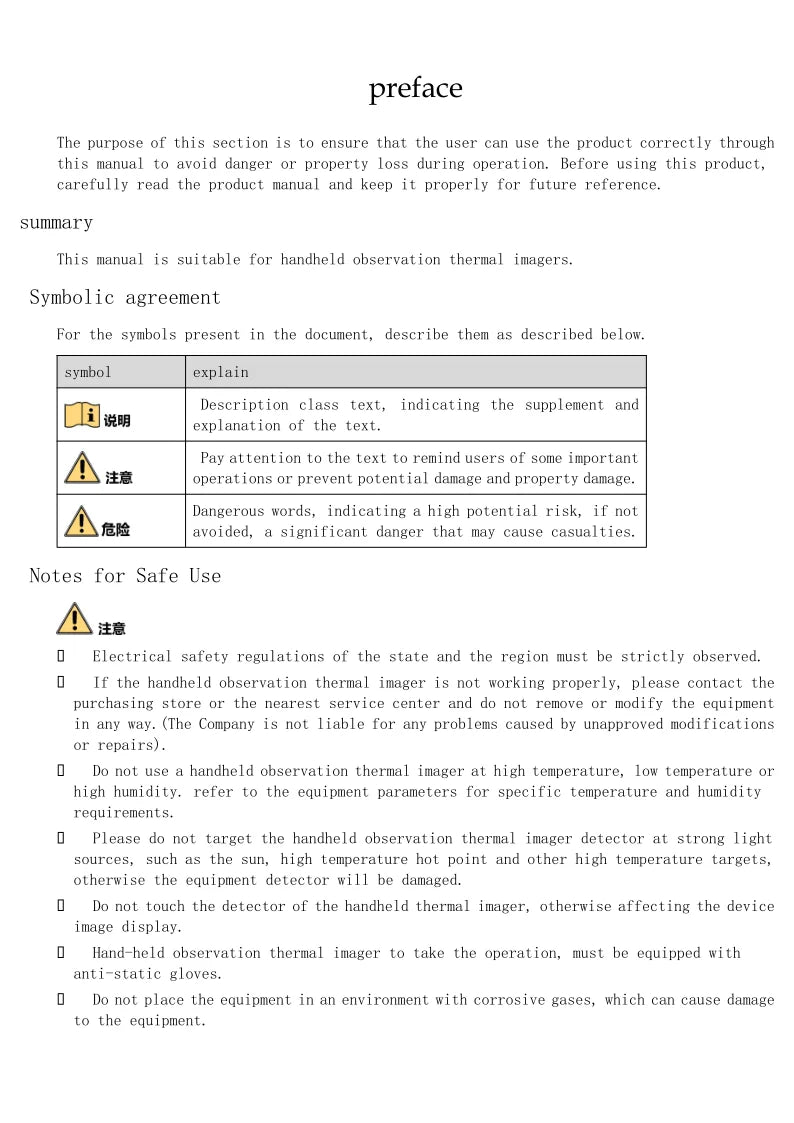
manua l is suitable for handheld observation therma imagers . safety regulations of the state and the region must be strictly observed . do not target the handheld thermal imager detector at strong Tight sources such as the sun and high temperature hot point .
It is your responsibility to ensure that all passwords and relevant product security settings are properly configured. The company will not be held liable for any accidental damage that may occur during transportation, provided the product is in its original packaging materials.
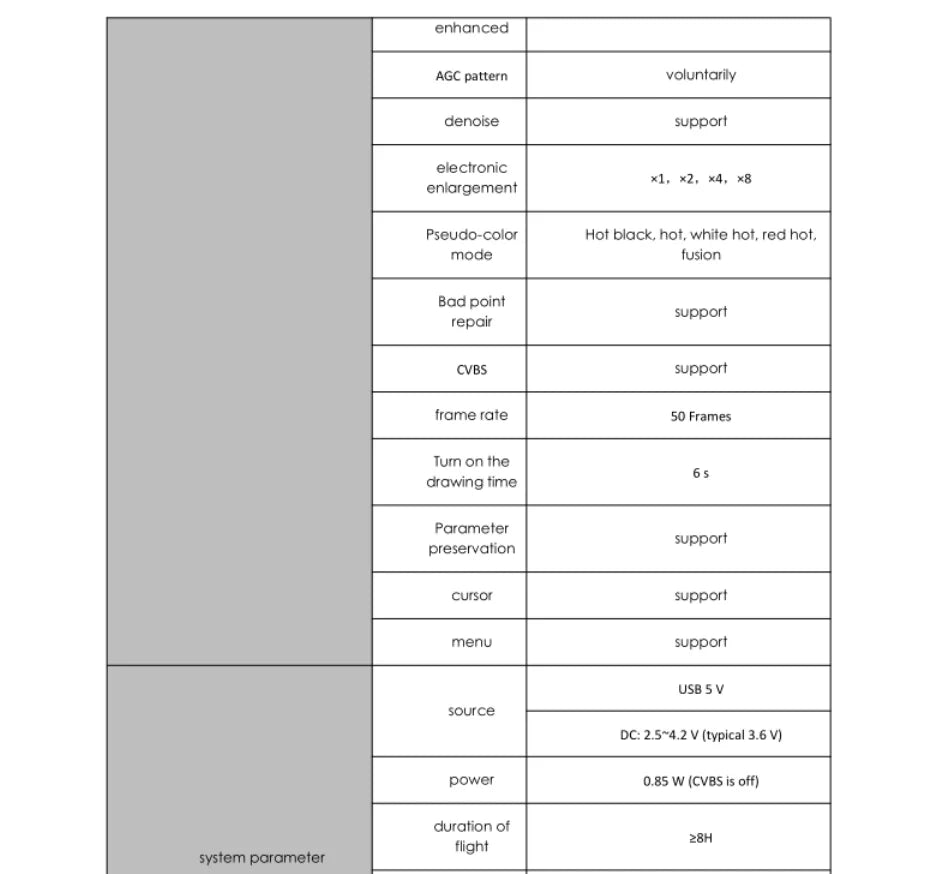
enhanced AGC pattemn voluntarily aenoise supporf elecironic *2, enlargoment Pscuao-color Black; noi; whito hot rca hot; mode fusion Bad point support repclr CVBS support frame rate 50 Frames Tum on the arawing time
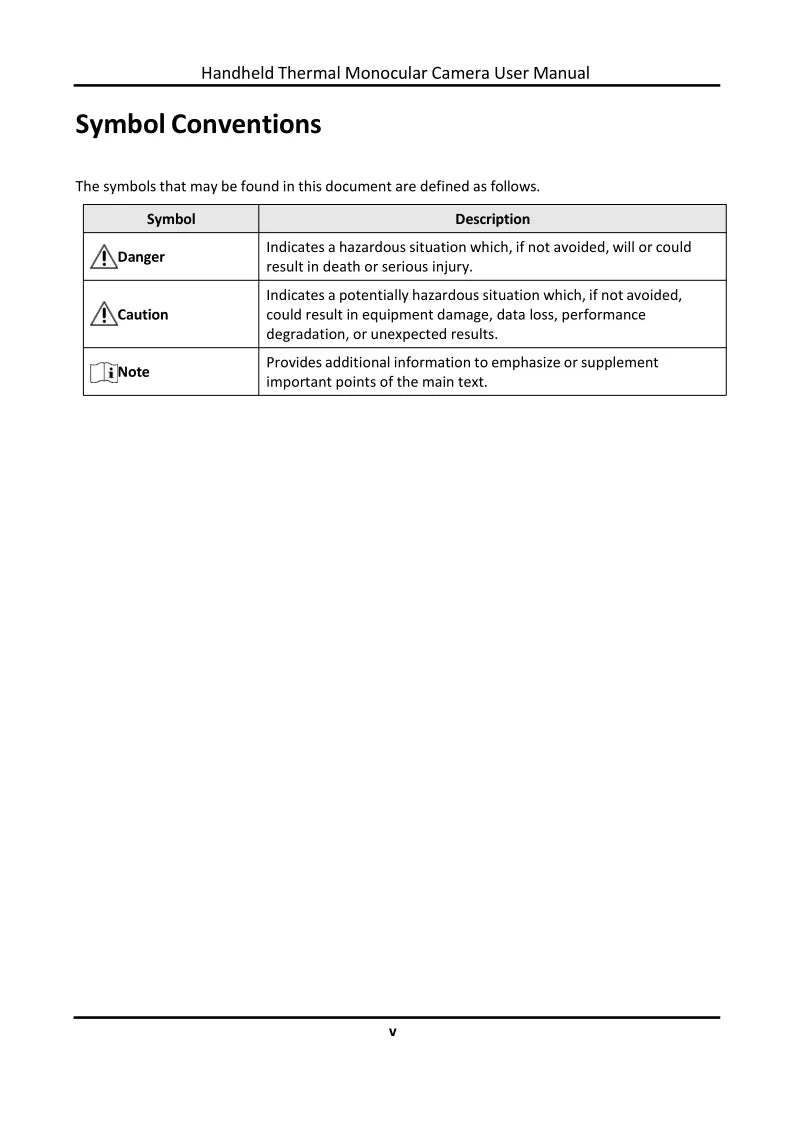
Handheld Thermal Monocular Camera User Manual Symbol Conventions . the symbols that may be found in this document are defined as follows .
This handheld thermal monocular camera user manual aims to provide guidance for safe and proper usage, preventing potential dangers or losses. It is essential that users strictly adhere to local electrical safety regulations when using this product.
If the infrared thermal imaging binoculars do not function properly, please reach out to your authorized dealer or the nearest authorized service center for assistance. In the event that smoke, an unusual odor, or noise emanates from the device, immediately turn off the power source, unplug the power cord, and contact our authorized service center for further guidance.
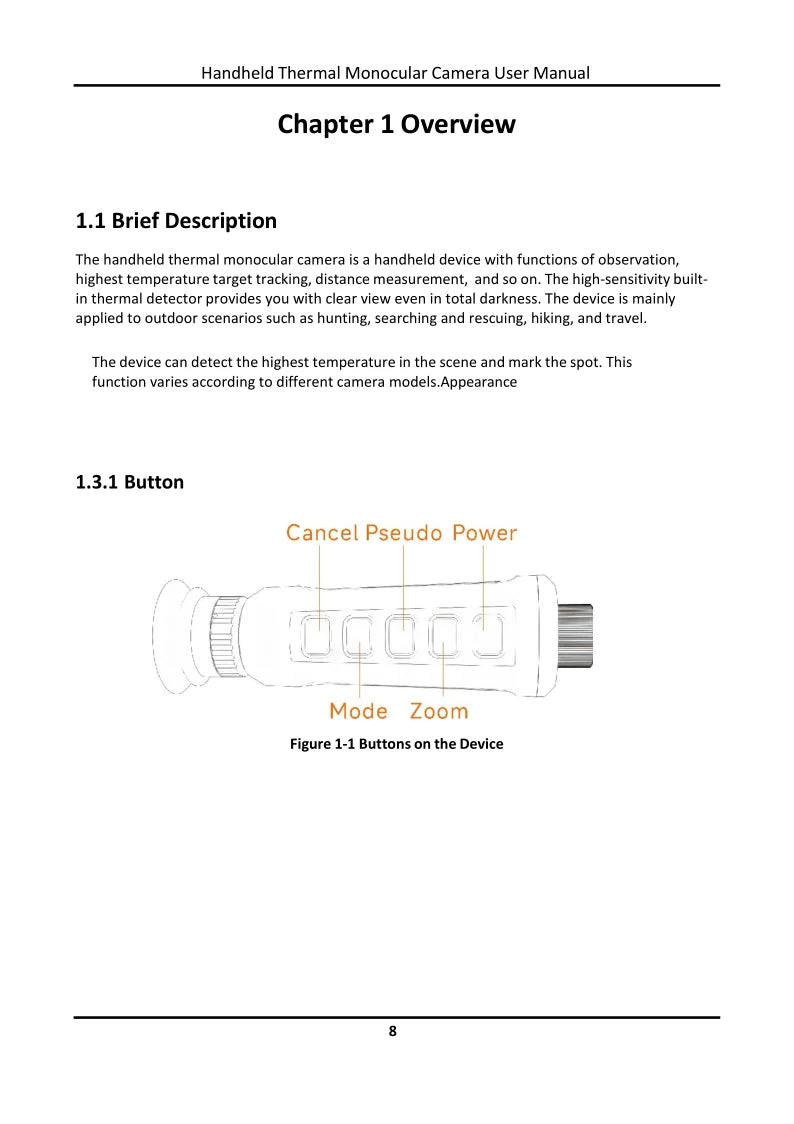
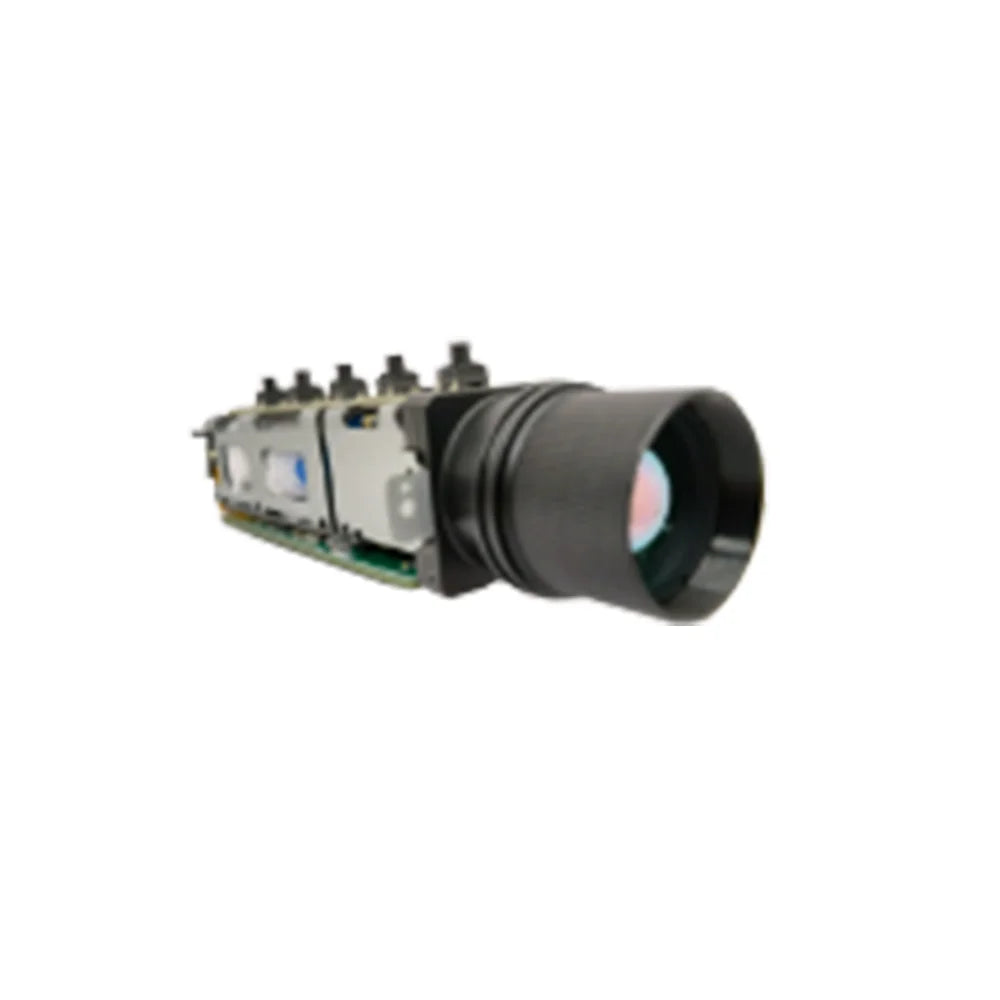
This handheld thermal monocular camera is designed for outdoor enthusiasts, ideal for applications such as hunting, search and rescue missions, hiking, and travel. With its high-sensitivity built-in thermal detector, it provides a clear view even in complete darkness, allowing users to navigate and detect objects in the most challenging environments.
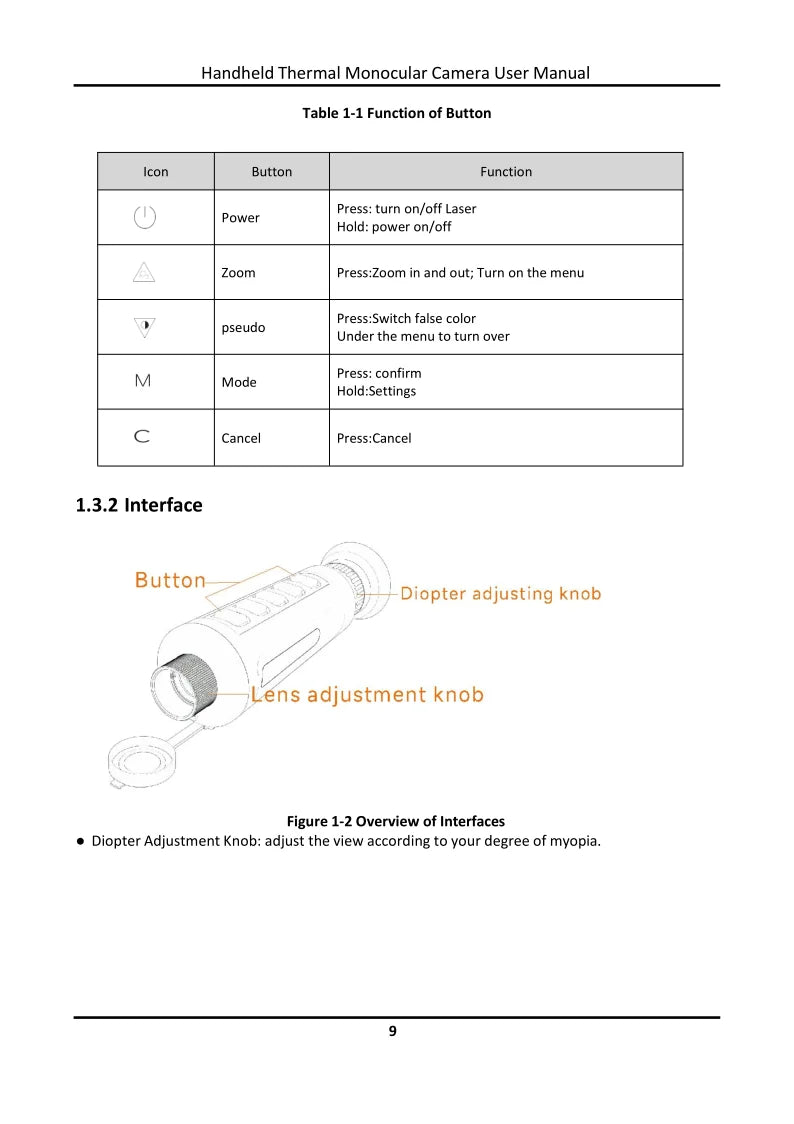
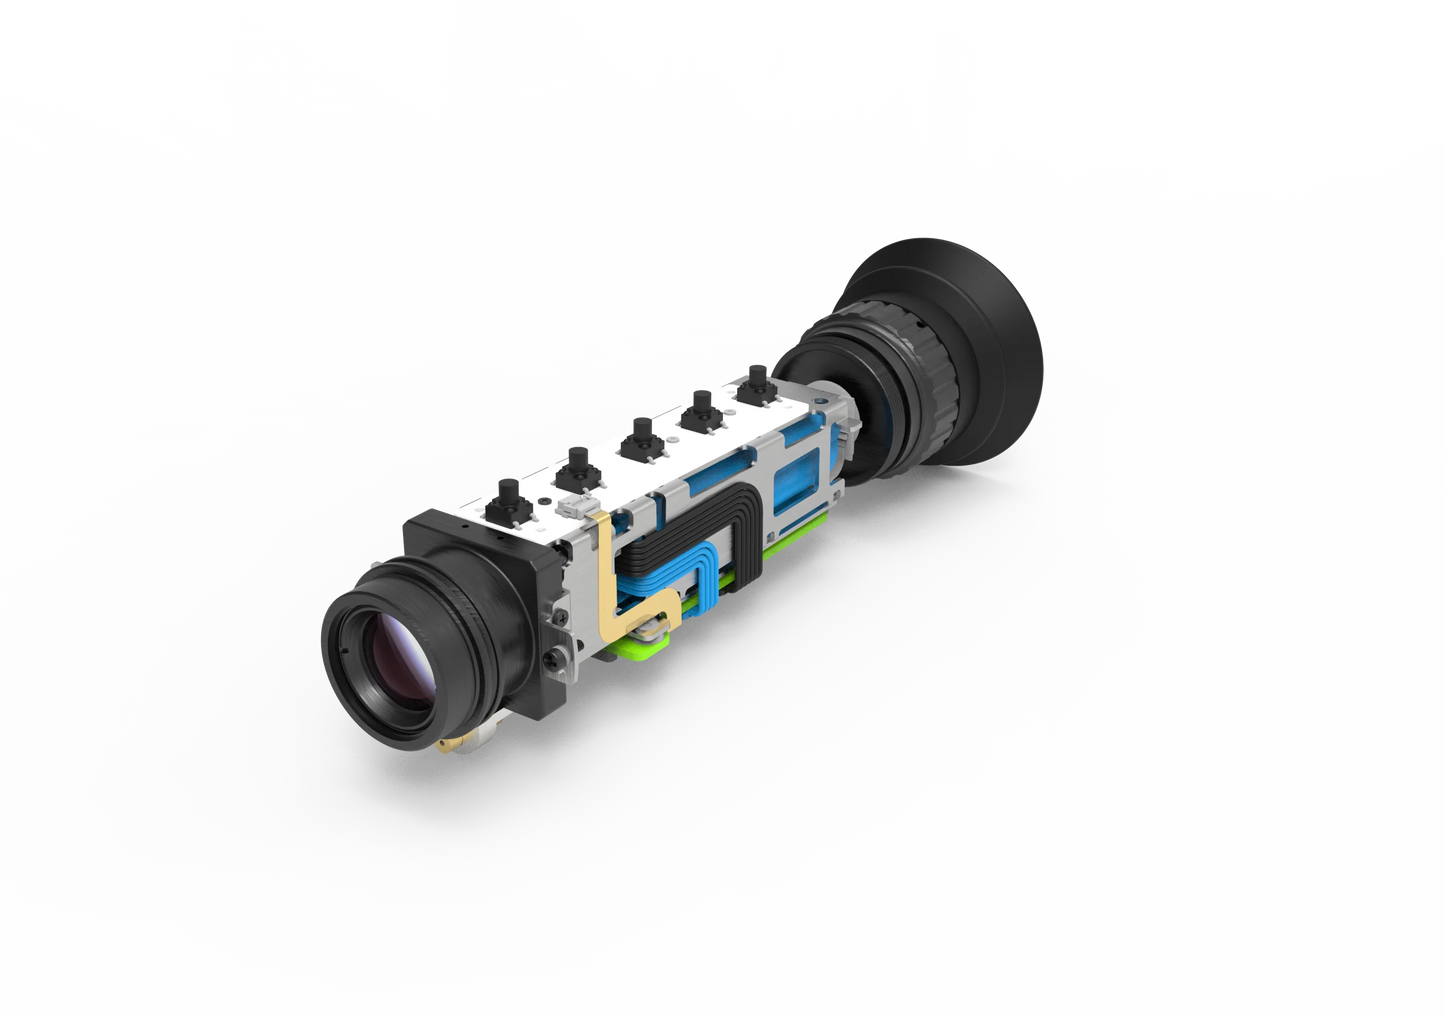
The Diopter Adjusting Knob (Figure 1-2) allows you to customize the view to suit your individual level of nearsightedness, enabling you to adjust the magnification for optimal viewing comfort.
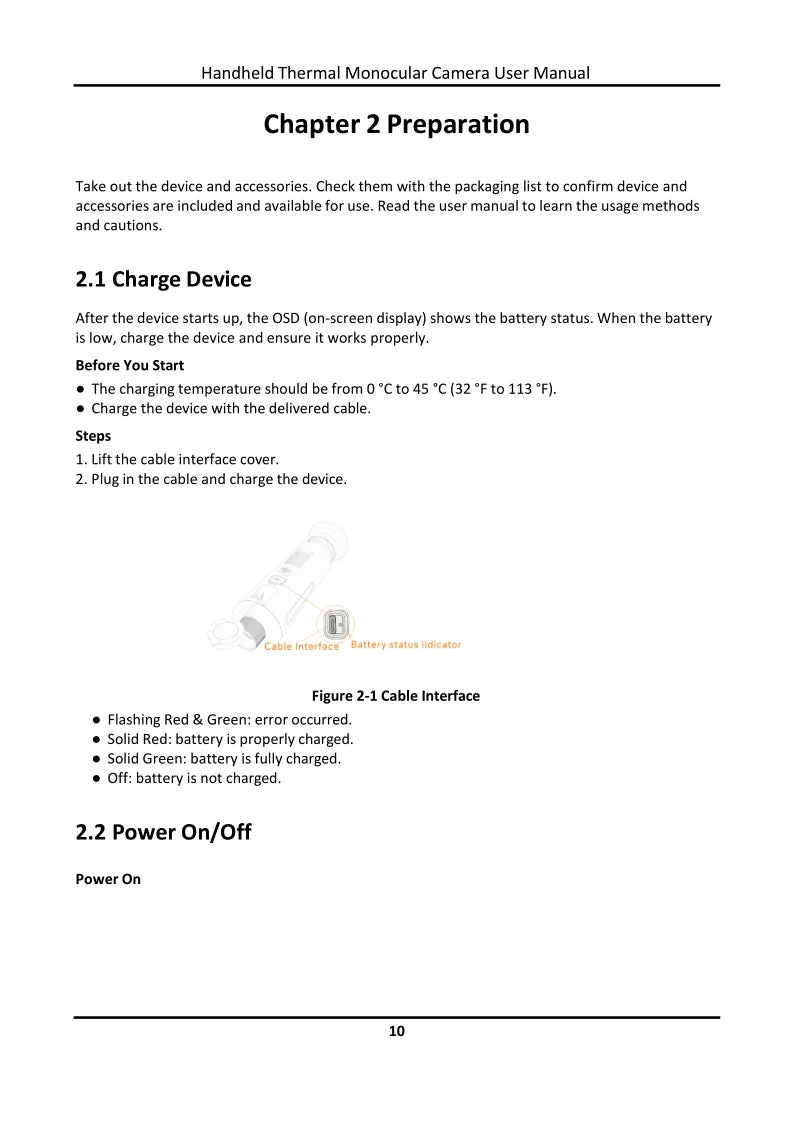
Handheld Thermal Monocular Camera User Manual: Chapter 2 - Preparation. Remove the device and its accessories from their packaging and verify that all components are included and functional by comparing them to the provided packing list, ensuring the device is ready for use.
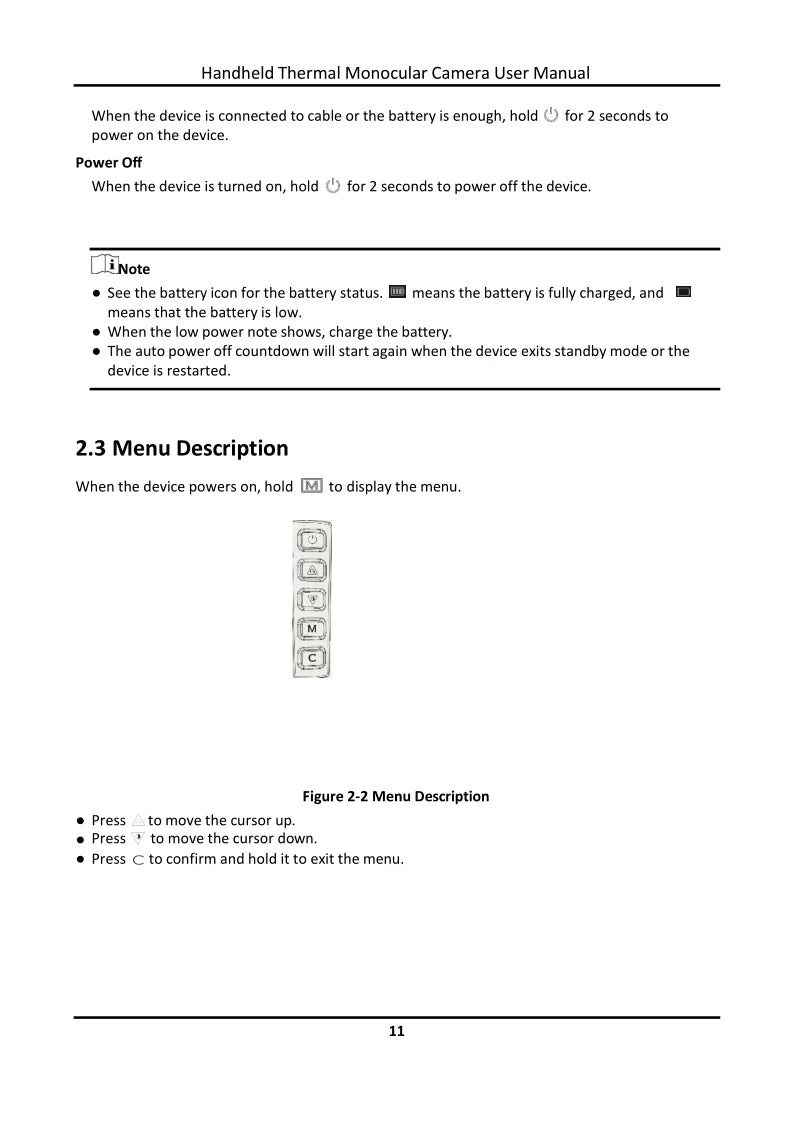
To operate the device, simply ensure it's connected to a cable or that the battery level is sufficient. To power on the device, press and hold for 2 seconds. When the device exits standby mode or is restarted, the auto-power-off countdown will automatically begin again.
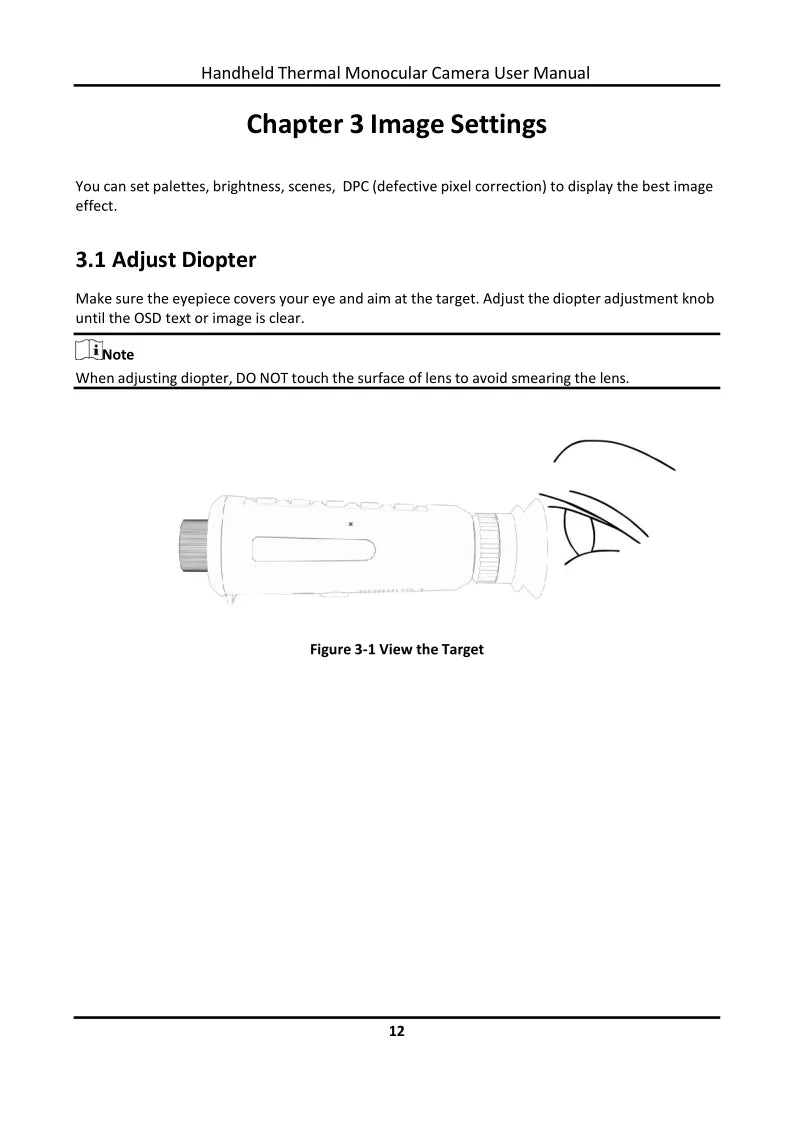
Adjust the diopter adjustment knob until the on-screen display (OSD) text or image appears clear to your eyes.
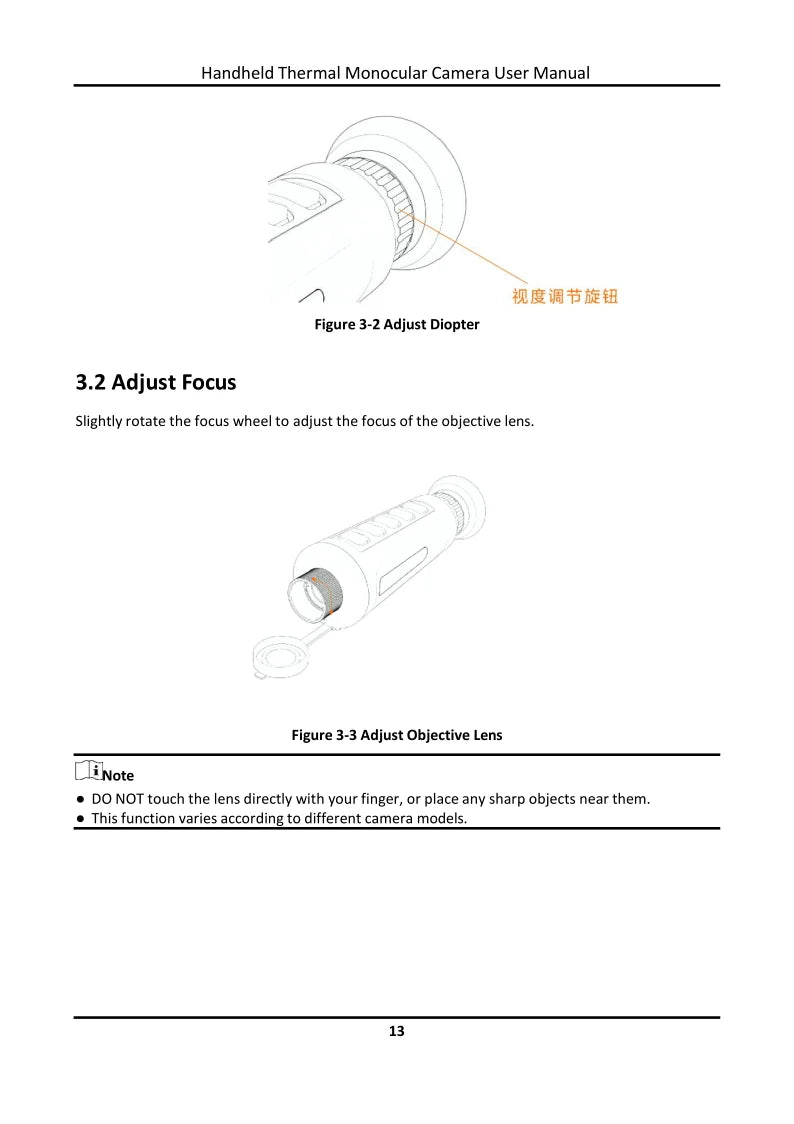
Manual Adjustment Guide: **Figure 3-2: Adjusting the Diopter** To adjust the diopter, slightly rotate the focus wheel to achieve the correct focus for your objective lens. **Figure 3-3: Adjusting the Objective Lens (Important!)** When adjusting the objective lens, please do not touch it directly with your finger or place any sharp objects nearby. The functionality of this adjustment may vary depending on the specific camera model used.
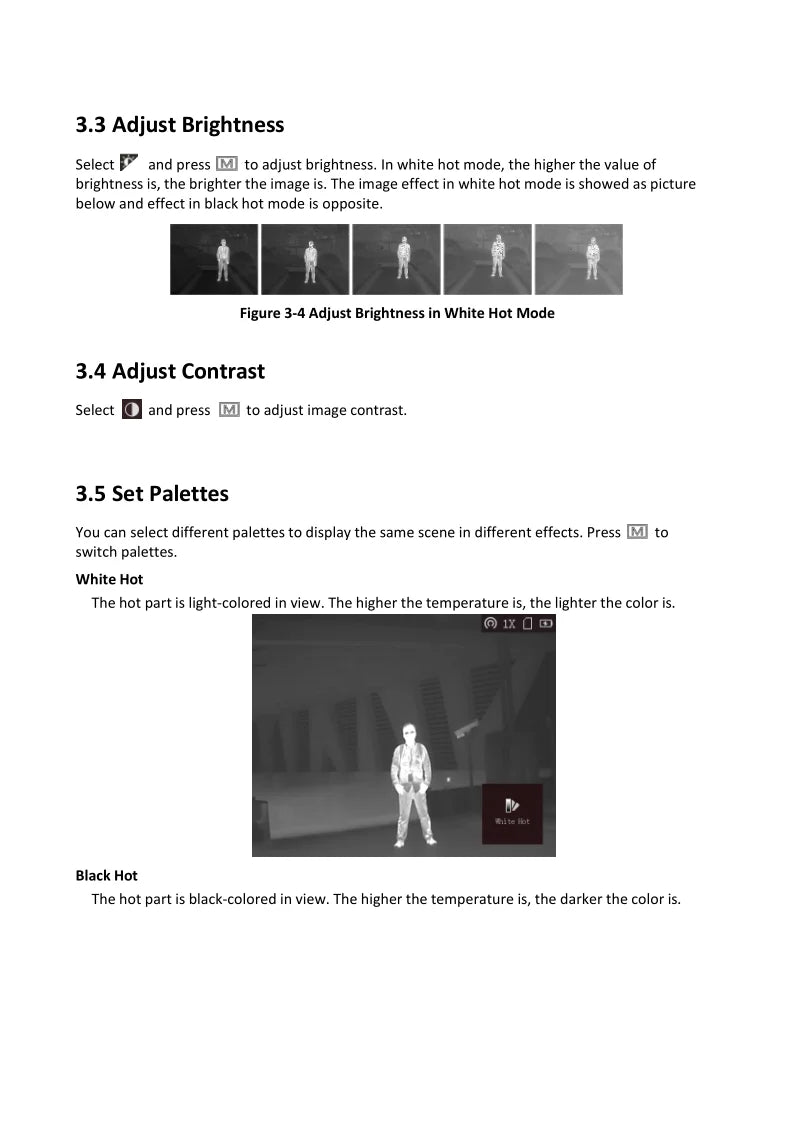
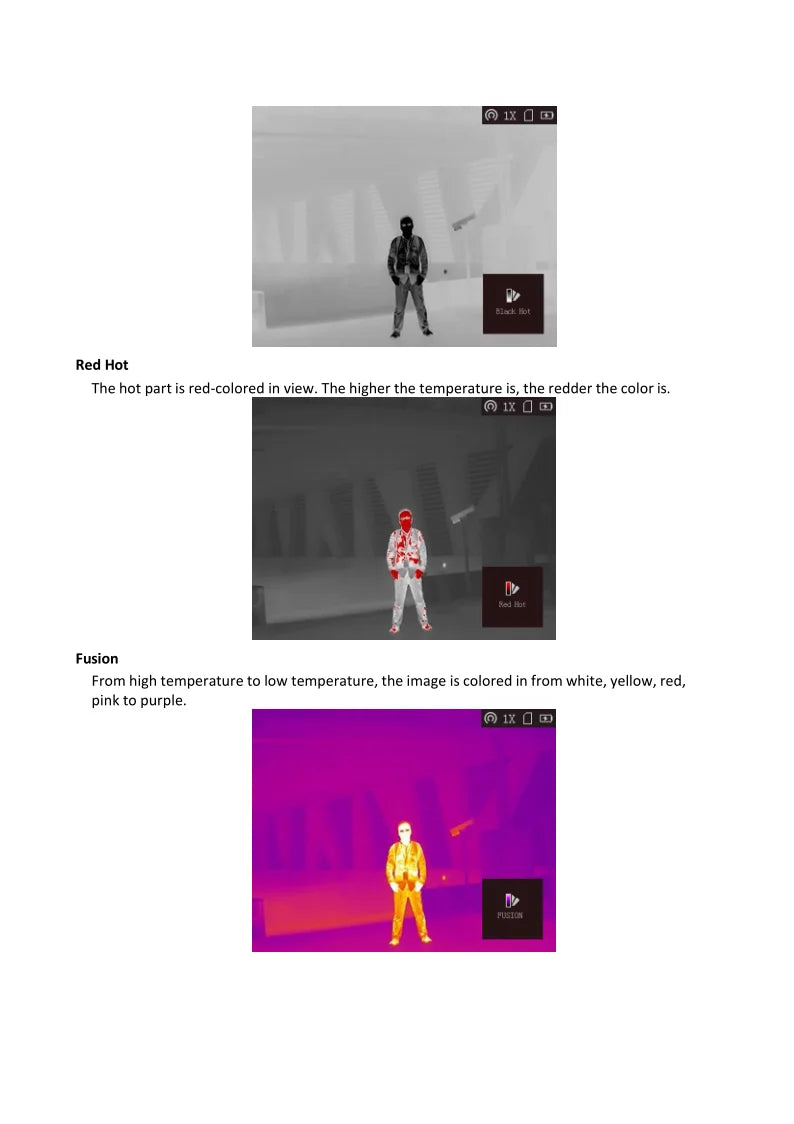
The higher the brightness level, the brighter the thermal imaging will be. Additionally, you can adjust the palette settings to display the same scene with varying visual effects.

Chapter 4: CVBS Output - This output allows for debugging purposes only, and please note that the CVBS cable is not included with the product.
FAQs Chapter 7: Troubleshooting Tips. Question 13.1: Why does the charge indicator flash irregularly? Possible solution: Ensure the device is turned off when not in use and plugged into a power source. If the issue persists, try charging the device for at least 5 minutes to see if the indicator stabilizes.


Drone Categories
-
All Drones
All Drones This includes a wide variety of drone The...
-
Mini Drone
The characteristics of mini drones are small size, light weight, portable, short...
-
Camera Drone
Camera Drone is very suitable for photography enthusiasts, basically equipped with 3-axis...
-
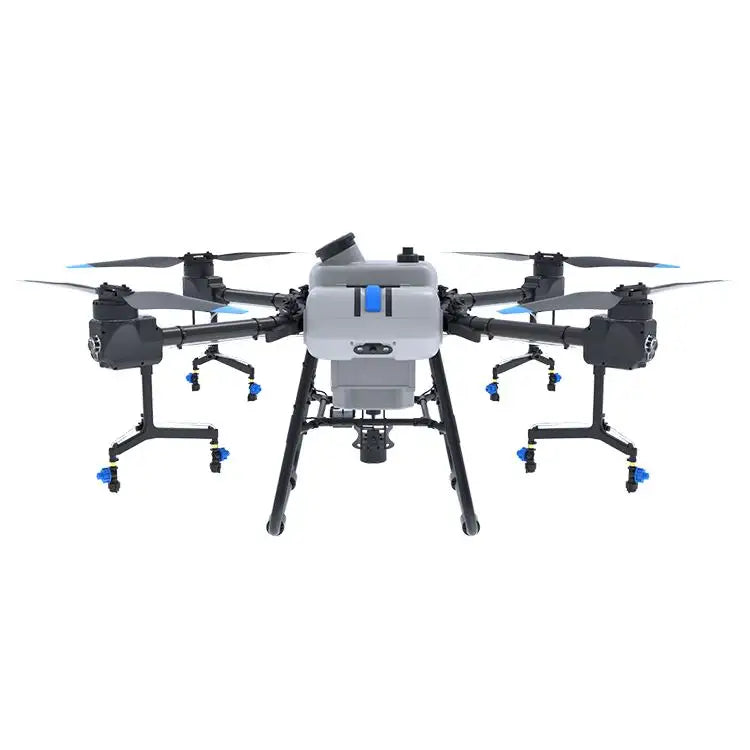
Agriculture Drone
What is Agriculture Drone? Agriculture drones, also known as precision agriculture drones...
-

Rc Helicopter
RC helicopters, also known as remote-controlled helicopters, are miniature aircraft that are...
-
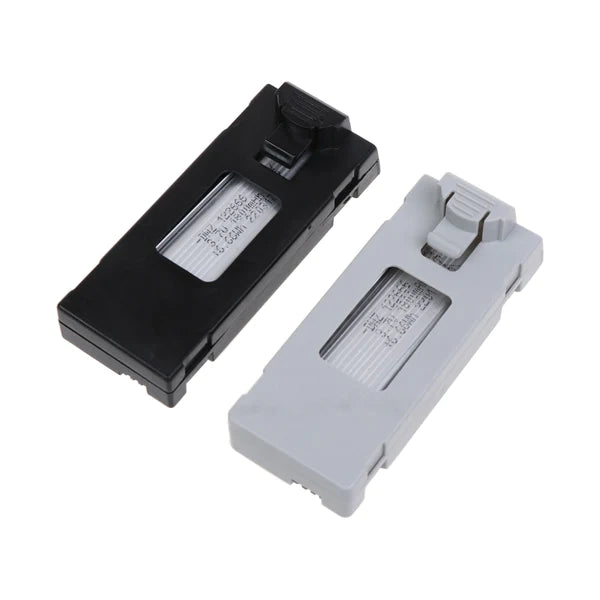
Drone Battery
Drone Battery, the most common batteries used in drones are lithium polymer (LiPo)...
-
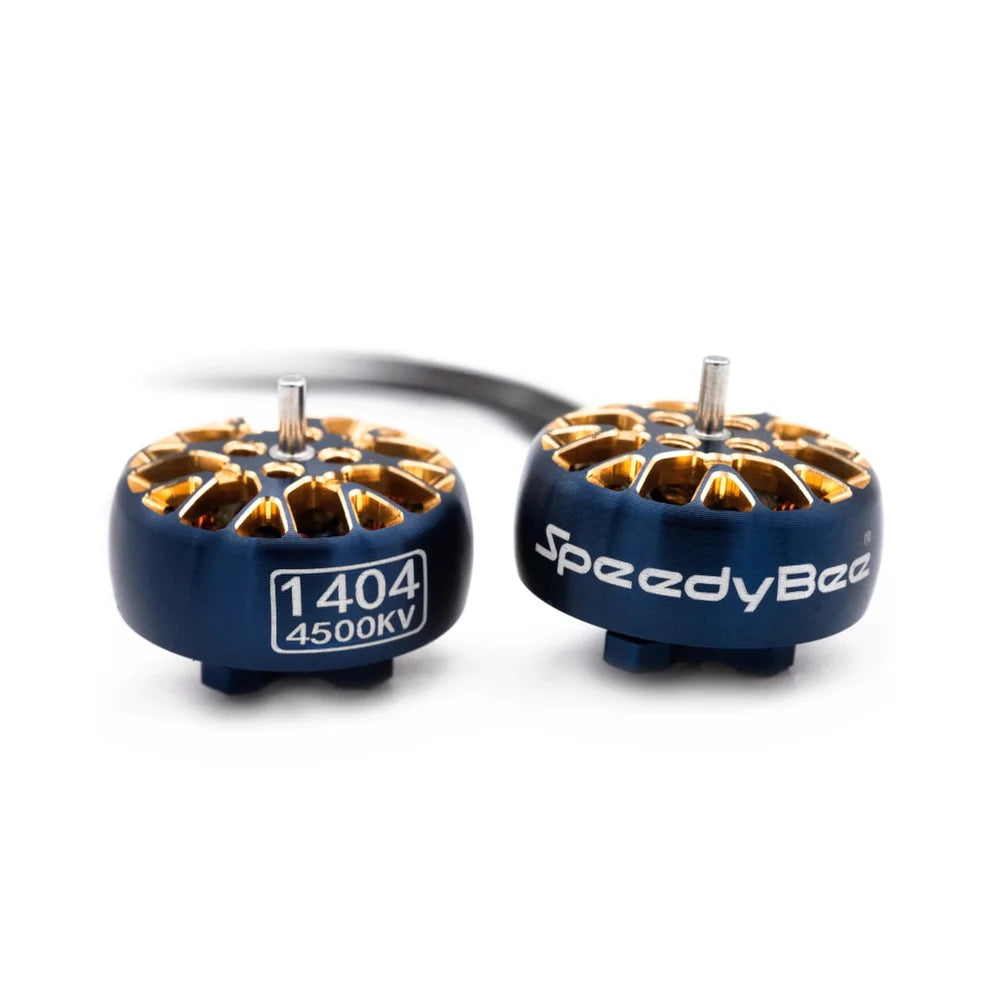
Drone Motor
Drone Motors, FPV Motors,Airplane Motors,Helicopter Motors, Car Motors. Drone motors are classified...
-
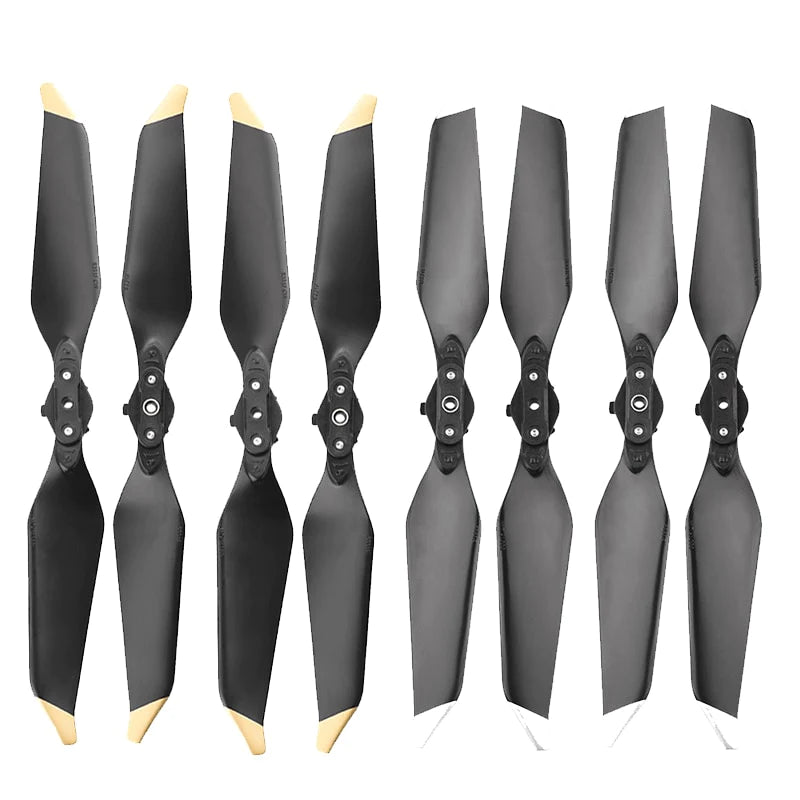
Drone Propeller
Drone Propeller: A drone propeller is a rotating component that generates thrust...
-
Drone Remote Controller
Drone Remote Controller, Transmitter When choosing a remote controller for a drone,...
-
Drone Transmitter & Receiver
Drone Transmitter & Drone Receiver FPV Transmitter & FPV Receiver Drone Transmitter and...
-
Accessories
Drone Accessories Quadcopter Frame. This is a structure (frame) in which all...