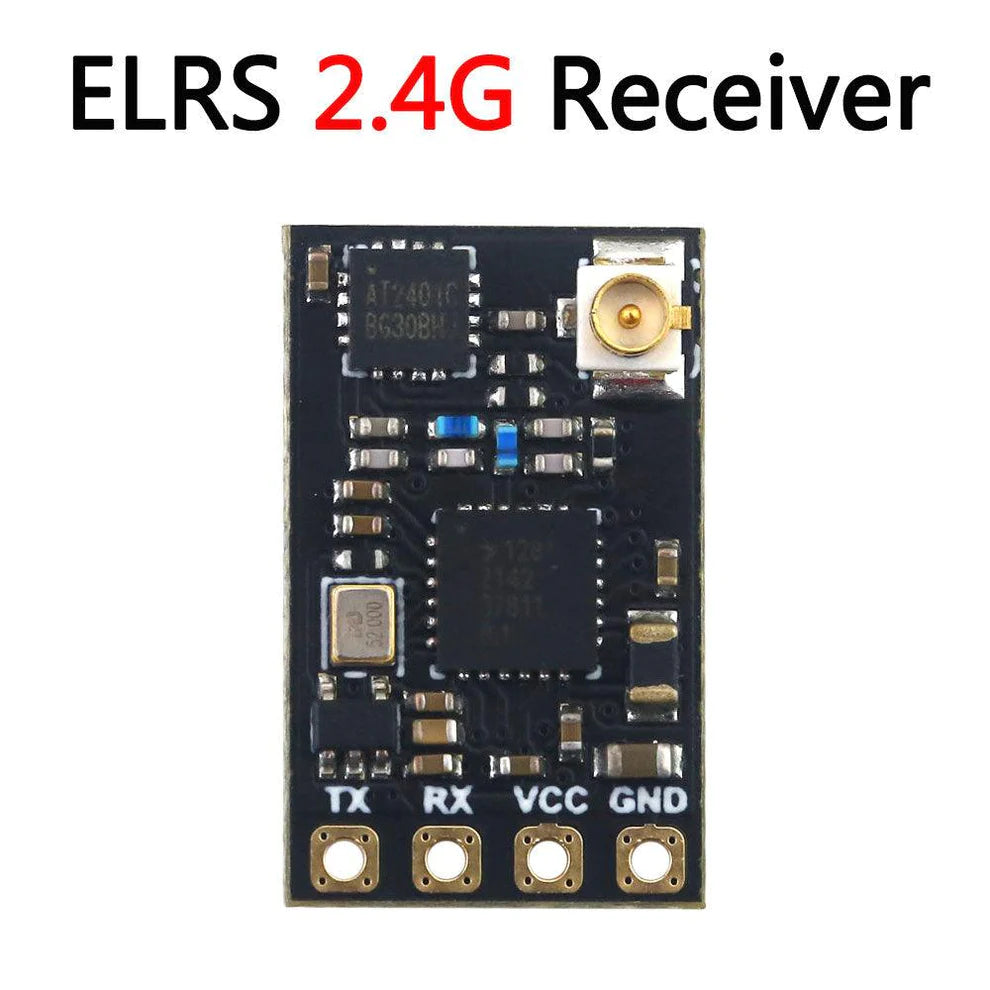
How To Bind ExpressLRS Receivers
Introduction:
ExpressLRS is a popular open-source radio control link for RC applications known for its exceptional performance. However, setting up ExpressLRS and binding the receiver to the transmitter can be a daunting task, especially for beginners. In this detailed step-by-step guide, I will explain three different methods to bind your ExpressLRS receiver to your transmitter, ensuring a successful setup.

Buy Drone Receivers : https://rcdrone.top/collections/drone-receiver
1. Binding Without a Binding Phrase:
If your ExpressLRS receiver doesn't have a binding phrase set, which is often the case with Bind-N-Fly (BNF) kits, you can still bind the receiver to the transmitter without using a binding phrase. Here's a detailed step-by-step process:
Step 1: Activate Receiver's Bind Mode:
To initiate the bind mode on the receiver, you need to power cycle it three times consecutively. This means plugging in the battery and immediately unplugging it. Repeat this process two more times. On the third power cycle, observe the LED on the receiver. If it starts double-flashing, it indicates that the receiver has entered bind mode.
Step 2: Activate Transmitter's Bind Mode:
On your radio controller, access the ExpressLRS LUA script. To do this, navigate to "Tools" in the System Settings (SYS button) and select the "[Bind]" option.
Step 3: Wait for Successful Binding:
After a few seconds, the LED on the receiver should stop blinking and remain on steadily. This indicates successful binding. When both the receiver and transmitter are connected, you will see a "C" symbol in the top right corner of the LUA script upon powering them on. If the receiver is powered off or not bound, a "-" symbol will be displayed.
If the receiver fails to enter bind mode, it's likely that it already has a binding phrase set. In such cases, consider the methods mentioned below, such as re-flashing the RX firmware without a binding phrase to put it in bind mode, or updating your bind phrase in the Web UI.
2. Entering Binding Phrase in Web UI:
If your ExpressLRS receiver supports WiFi connectivity, you can enter the binding phrase directly through the web user interface (UI). Please note that this method only applies to receivers with V3 or newer firmware. If your receiver has older firmware, you will need to update it first. Follow these detailed steps:
Step 1: Transition Receiver into WiFi Mode:
Power on your receiver. If it's not connected to a bound transmitter, it will automatically enter WiFi mode after 60 seconds (default setting). In WiFi mode, the LED on the receiver will rapidly flash.
Step 2: Connect to the WiFi Network:
Using your laptop or smartphone, connect to the WiFi hotspot named "ExpressLRS RX." The password for this network is "expresslrs" (all lowercase).
Step 3: Input Bind Phrase in Web UI:
Once connected to the ExpressLRS RX WiFi network, open your preferred web browser and enter the following address: 10.0.0.1. This will bring up the web UI configuration page for your receiver.
On the web UI page, locate the field where you can enter your binding phrase. Here, you can input your desired bind phrase, which will override any previously set binding phrase.
Troubleshooting:
If you cannot find the option to input a bind phrase in the Web UI, it's possible that your receiver is running an older version of the ExpressLRS firmware. In that case, you will need to update the firmware using the ExpressLRS configurator. For detailed instructions on updating the firmware, refer to my tutorial [Link to the tutorial].
While connected to the ExpressLRS receiver's WiFi network, your device will disconnect from your home WiFi, temporarily losing internet access. To download and compile the firmware, you will need to reconnect to your home network. After completing the firmware-related tasks, reconnect to the ExpressLRS hotspot to proceed with the configuration.
Once you have successfully built the firmware, locate the firmware file on your hard drive and move it to a convenient location, such as your desktop. Return to the ExpressLRS update page, select the file you just relocated, and proceed to update the firmware on your receiver.
3. Setting Binding Phrase by Flashing Firmware:
Another method to bind your ExpressLRS receiver is by setting the binding phrase while compiling the transmitter and receiver firmware. With this method, binding occurs automatically upon powering up the devices. Successful binding is indicated by a solid status LED on the receiver. Here's a detailed process:
To perform this method, refer to my tutorial on flashing firmware to your ExpressLRS receiver. [Link to the tutorial]
Conclusion:
By following the detailed steps provided in this guide, you should now have a functional ExpressLRS setup, ready to be utilized in your RC applications. Remember, the initial setup process can be challenging, especially for beginners, but with patience and the right guidance, you can quickly master it. Now, it's time to enjoy the exhilarating world of FPV flying with your ExpressLRS-equipped drone. Happy flying!
1 comment
Merci pour tes explications 😉.
Moi, je suis ennuyé, j’avais mis la même phrase de liaison, ça marchait une fois, voyant vert gixe, puis à la prochaine utilisation, plus rien, vert clignotant lent puis rapide.. Ouif bizarre, je vais changé la phrase à nouveau et espère que ça marche cette fois ci 😉