Flywoo Explorer LR 4 HD user manual
Flywoo Explorer LR 4 HD https://rcdrone.top/products/explorer-lr-4-hd-walksnail
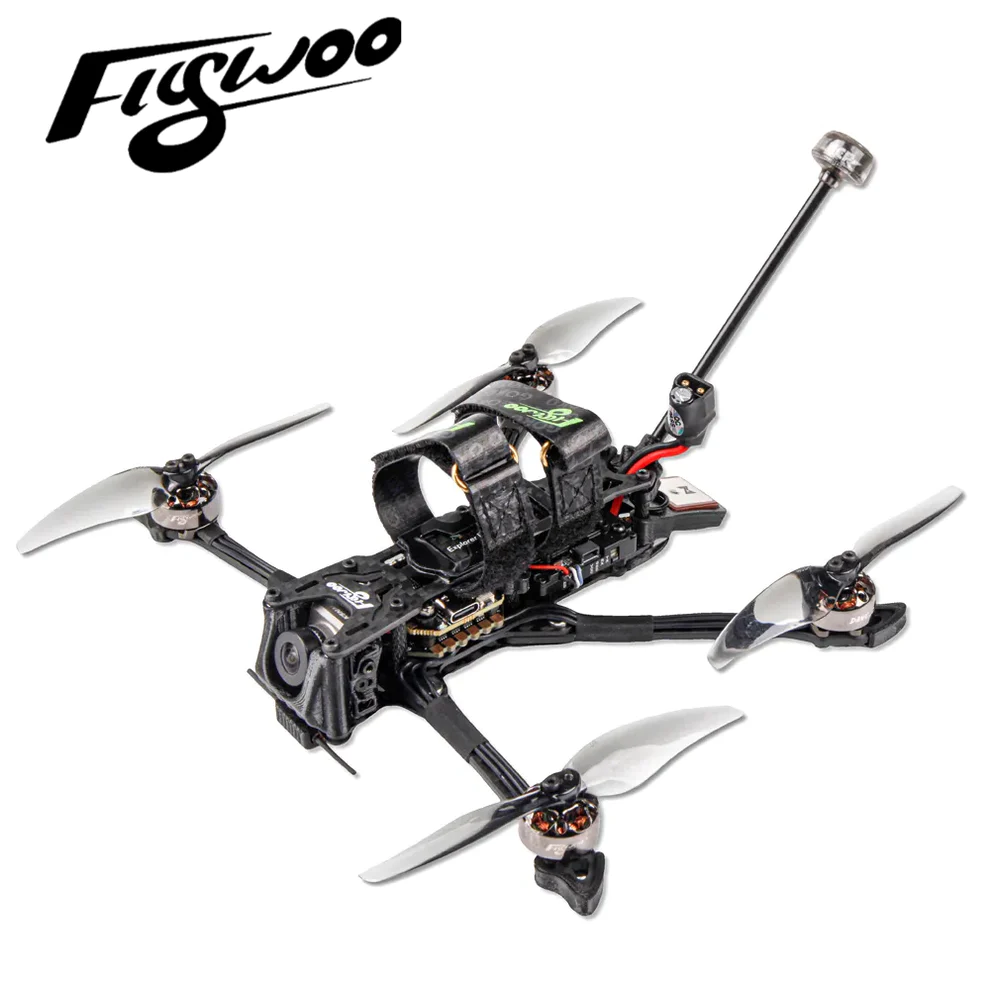
1/ drone introduction
Explorer LR quad is the masterpiece of the collaboration between Flywoo and #micro long range original creator Dave_C . #Micro long range is a brand new field, and we will explore more fun in this field with Dave_C in the future.
Table of content
- Drone description;
- Configuration and wiring diagram description;
- Radio receiver binding instructions;
- BetaFlight channel and mode settings;
- Motor testing;
- GPS rescue mode settings;
- How to use Bluetooth connections;
- Finder buzzer function;
- Flight firmware upgrade and write default CLI.
For me personally, Long Range cruising through epic landscapes is the best thing about FPV! But unfortunately, it was always kind of difficult to practice legally and without bothering people with all the noise a massive 6 or 7" long-range quad produces.
So the basic idea behind the original Project #MicroLongRange was born: Scale down a 7" long-range quad until it is below 250g take-off weight. With the support of an awesome community on Facebook and Instagram as well as a massive development effort by Flywoo, this concept has seen a lot of improvements that are now all implemented in the Explorer LR!
This tiny quad is equipped with GPS, Crossfire, and an independent model finder to give you the necessary confidence to push it to the maximum range of digital and analog video transmission. The powertrain with its GOKU 16x16 stack and the all-new 2750kV 1404 motors spinning 4" props is optimized for maximum efficiency and low weight: Flight times of way over ten minutes on a regular 850mah 4S LiPo battery are easily achievable! Cruising speeds of 40-50 kph (25-30mph) are astonishingly high for such a small quad and have allowed me to do 10km (6 miles) round trips easily. And the best thing about it: It's incredibly quiet! You will barely be able to hear it flying by as soon as you are a few dozen meters away. ”
------Dave_C
2/ Configuration and wiring diagram description
EXplorer LR 4 Vista / Nebula pro BNF Specification :
Goku F411 V2.1 nano stack 16x16
Dave_C & Nin 1404 V2 2750kv motors
Goku M8N mini gps v2.0
Flywoo Finder v1.0
Gemfan 4024 props
Atomic 5.8 G antenna LHCP
VTX: CADDX VISTA
Recommend Battery :
Naked Gopro & SMO 4K & Insta360 go
---Explorer 18650/ Tattu 1050 4s mah -- 650 4s mah
Highlights & Specification :
The lightweight 4-inch quad below 250g even if you connect with the battery, meet the current requested of FAA rules. Easy to control and long flight time, we strongly recommend to FPV beginners and pilots who like to cruise!
Equipped with GOKU 16X16 MICRO STACK, and NIN 1404 v2-2750kv, support 4s battery. You can get up to 20 minutes cruising! So this is a quad that is very suitable for FPV beginners and long-range enthusiasts!
It is recommended installing side carbon fiber plate to increase the strength and stability of the Arm.
CLI:
resource SERIAL_TX 11 B06----VISTA RX resource SERIAL_RX 11 B07----VISTA TX
SAVE
UART1: TBS/R9M/XM+/DSMX/SBUS receiver
UART2: GPS module, the default baud rate is 9600
SOFTSERIAL1: VISTA OSD UART
3/ Receiver binding
TBS NANO 915:
When the USB is connected, the green light of the receiver flashes, and then bind according to the picture operation. https://www.youtube.com/watch?v=-iNkVcOLITM&ab_channel=Danimal3D
R9MM FCC ACCESS OTA:
Make sure your remote control supports ACCESS protocol, then follow the link to register and bind
https://www.youtube.com/watch?v=az5hDdNBcjg&t=9s&ab_channel=FrSkyRC If the remote control is ACCST protocol, please bind as follows:
1/ Put these two files into the firmware directory of the SD card of the remote control.
R9MM firmware: FW-R9MM-ACCST_v20190201
R9M TX module: FW-R9M-ACCST-20190117
2/ Insert the R9M TX module and write the firmware you need
3/ To write the firmware of the R9MM receiver, you need to remove the R9MM receiver, and then write the firmware by connecting to the S.PORT port.
4/ After both R9M TX and R9MM RX are written into the ACCST firmware.
Binding method:
1/ Press and hold the button of RX, power on, the red and green lights are always on.
2/ Then after R9MM selects binding, RX red light flashes, and then exit
3/ RX is powered on again, and only a green light is displayed, indicating that the binding is successful.
XM+ receiver:
1/ Press the XM+ receiver button, USB power supply, the red and green lights are always on
2/ The remote control turns on the binding mode, the green light flashes to indicate successful binding, turn off and restart
3-1/ Then set the corresponding serial port and receiver protocol to ensure the normal output of each channel of the receiver.
4/ Mode setting:
Set the ARM switch and flight mode switch, AUX* corresponds to the remote control switch, and the yellow area mark is turned on.
5/ Motor test:
Unload the propeller, test the rotation direction of the motor, turn on the safety switch, and test the rotation of the motors one by one.
6/ GPS rescue mode
1/ When GPS finds 5 satellites and locks, it will display latitude/longitude/altitude/distance information.
2/ GPS rescue can only be turned on when the flight distance data exceeds 100 meters, otherwise it will fall directly.
3/ After the GPS rescue is turned on, DRONE will turn around and rise gradually and return to the home location.
4/ DRONE will not automatically land. When the control is restored, you need to control DRONE to land.
7/ Bluetooth function
8/ Finder BUZZER function
The buzzer has two modes of operation:
- It is compatible with the functions of the traditional active buzzer and synchronized with the flight control.
- When the flight control is normally connected, if the main battery in the flight is powered off, it can still automatically emit 100 dB of drip sound after 30 seconds of power failure, and the LED will emit white light.
To turn off the buzzer: Press and hold the release button for more than 2 seconds, the Finder V1.0 turns off the sound.
9/ Flight firmware upgrade and write default CLI
1/ Activate DFU mode
2/ BF Configurator will display to enter DFU mode. If it does not enter DFU mode, it may be that the driver is not installed. The driver can be installed using IMPULSE RC software
Driver software:
https://impulserc.blob.core.windows.net/utilities/ImpulseRC_Driver_Fixer.exe
3/ Then load the local HEX firmware and wait for the flashing to complete. A green progress bar is displayed to indicate completion, and DFU will become a COM port
4/ After the connection is entered, it is a blank interface, you need to write CLI commands
5/ If the command is not restarted after writing the command, please write SAVE and press Enter to save, and the FC will restart
6/ Then all functions of FC return to normal.